Acuity Controls ATRIUS ECYA1000 Kurulum Kılavuzu - Sayfa 13
Röleler Acuity Controls ATRIUS ECYA1000 için çevrimiçi göz atın veya pdf Kurulum Kılavuzu indirin. Acuity Controls ATRIUS ECYA1000 14 sayfaları.

9-0 OPTIONAL WiFi and BLE Adaptor
Mounting Instructions
9-1 Typical Mounting Scenarios
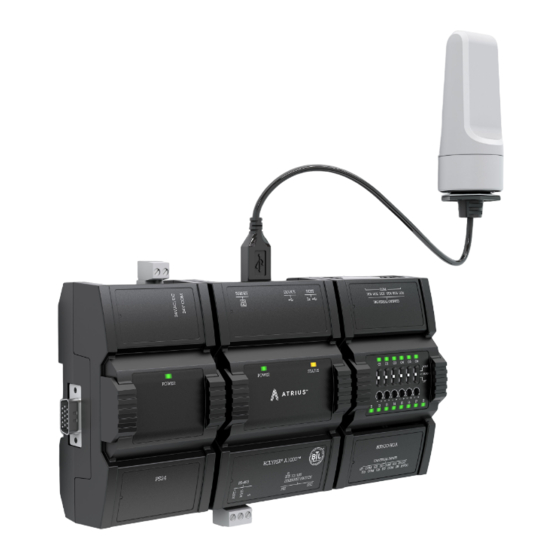
The ECLYPSE A1000 wireless adaptor is typically mounted in one of three
common scenarios, these include:
•
Suspended Ceiling Mount
•
Mounting Bracket
•
Metal Panel/Utility Box
Whichever mounting scenario is chosen, the wireless adapter should be
16" (41 cm) or more away from any network communication devices and
not too close to the actual ECLYPSE A1000. The wireless adapter connects
directly to the ECLYPSE via the USB port. You are supplied with a 6' cable.
This cable cannot be made any longer and must not be modified.
9-2 Instructions for Ceiling Mount
1.
Use 1.75" (44m) hole saw to create a mounting hole position.
2.
Disassemble the wireless adapter: remove the snap-fitted cap,
disconnect the dongle, unscrew the collar, and remove the
washer.
3.
Fit the rubber washer and slot onto the cable assembly. Align the
washer and slot with the key (refer to figure 18 for clarification)
4.
Screw the collar onto the assembly.
5.
From the top of the ceiling panel, fit the cable assembly through
the mounting hole and hold it in place.
6.
On the bottom of the ceiling panel, slide the lower flange onto
the collar until the wireless adapter is firmly held in place.
7.
Fit the dongle into the cable assembly's connector.
8.
Align the cap with the dongle's profile and snap it onto the collar.
9.
Connect the USB cable assembly's USE jack to one of the
controller's Host USB ports.
10. Finish up the installation by securing the cable assembly at
regular intervals to the building structure.
9-3 Instructions for NPT Mounting
1.
Remove the 3/4 inch electrical panel knockout or use a 01.115"
(26.9 to 32.5mm) hole punch to create a mounting hole position
2.
Disassemble the wireless adapter: remove the snap-fitted cap,
disconnect the dongle, unscrew the collar, and remove the
rubber washer.
3.
Fit the rubber washer onto the cable assembly. Align the slot with
the key. See figure 21 for clarification.
4.
From the inside of the electrical enclosure or on the construction
surface, pull the cable from the ECLYPSE to the wireless adapter.
5.
Plug-in the USB connector into the USB host slot on the ECLYPSE
A1000.
Do not mount wireless adapter inside of metal enclosures.
(See Figure 19)
Acuity Brands | One Lithonia Way Conyers, GA 30012 Phone: 800.535.2465 www.acuitybrands.com © 2019 Acuity Brands Lighting, Inc. All rights reserved. Rev. 11/07/2019
Figure 18: Ceiling Mount
Figure 19: Panel Mounting
13 of 14
