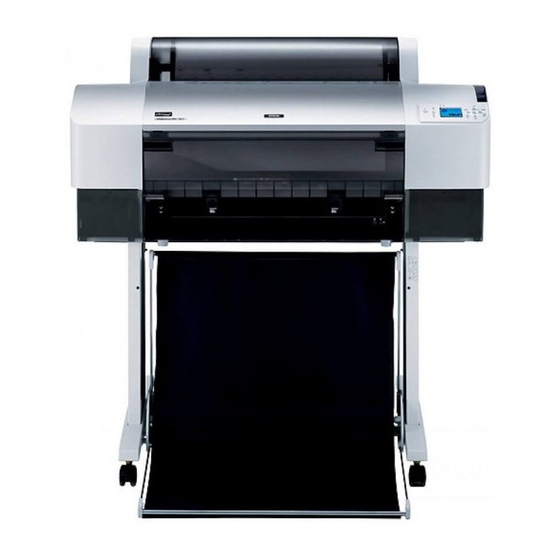
Epson Stylus Pro 7800 and 9800
5. Make sure the replacement
cartridge is the correct color,
and remove it from its
package.
6. Gently shake the cartridge
before installing it.
7. Hold the cartridge with the arrow pointing toward the
printer. Then insert the cartridge into the slot. Don't force
it in.
8. Lower the ink levers to their locked position.
9. Close the ink compartment cover(s).
Once the cartridge is installed, the printer returns to its
READY state.
6 - Epson Stylus Pro 7800 and 9800
Paper Type and Banding
Banding can be caused by several problems, such as clogged
print head nozzles or a misaligned print head. It can also be
caused by using a paper that is not defined in the Epson
printer driver or in a third-party RIP. To correct this problem,
make sure you select the correct paper type in the driver.
If your paper type is not defined, use the printer's menu
system to create a custom paper type. See "Optimizing the
Settings for Your Paper" in the Printer Guide.
Checking and Cleaning the Print Head
If your printed image shows a color shift or horizontal lines,
you should check the print head to see if any nozzles are
clogged or deflected. If necessary, the printer will
automatically run a cleaning cycle to clear the nozzles.
1. Press the
button.
Menu
2. Press the d button until
press
.
Menu
NOZZLE CHECK
3. Press
, then press
Menu
pattern.
The nozzle check pattern is printed and automatically read. If
the printer finds clogged nozzles, it runs a cleaning cycle.
You can clean the print head manually by pressing and holding
Note:
the Menu button. You also can check the print head and turn on the
Auto Cleaning feature using your printer utility software.
Running a Power Cleaning Cycle
You can run a power cleaning cycle from the printer's control
panel if the normal cleaning process is not sufficient to clear
the nozzles. However, the power cycle uses a larger quantity of
ink, so it is recommended only as a last resort.
The cartridges need to be at least 50% full to use power
cleaning. You may need to replace a low cartridge to run the
cleaning cycle. If the waste ink tank is nearly full, you may
need to replace it. After running the cleaning cycle, you can
reinsert the old cartridge.
1. Print a nozzle check to make sure the print head needs
cleaning, as described above.
2. Make sure the printer is ready and the red B ink light on the
printer's LCD display is not on or flashing.
3. Press the Menu button.
4. Press the d button until
then press Menu.
8/05
is highlighted, then
TEST PRINT
is selected.
to start printing the nozzle check
is highlighted,
MAINTENANCE

