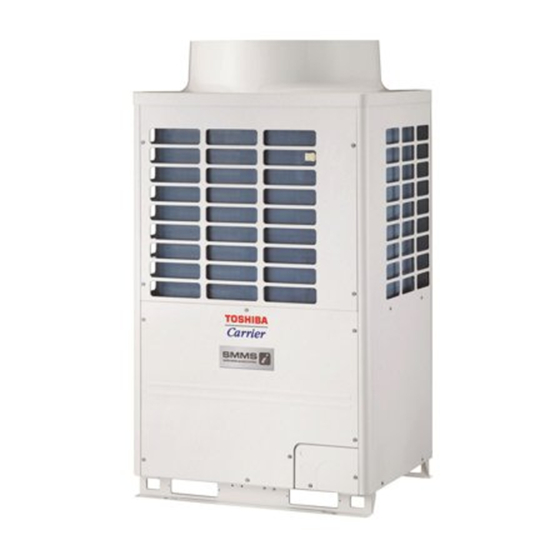
Toshiba Carrier MMY-MAP1446FT9P-UL Kurulum Kılavuzu - Sayfa 4
Klima Toshiba Carrier MMY-MAP1446FT9P-UL için çevrimiçi göz atın veya pdf Kurulum Kılavuzu indirin. Toshiba Carrier MMY-MAP1446FT9P-UL 33 sayfaları.

2
Accessory parts
Q'ty
Part name
MAP072 MAP096 MAP120 MAP144 MAP168
Owner's Manual
1
1
Installation Manual
1
1
Attached pipe
(Ø7/8" both forward
1
1
and downward)
Attached pipe
(Ø1 1/8" both forward
–
–
and downward)
Attached pipe
(Ø3/4" both forward
1
–
and downward)
Attached pipe
(Ø3/4" both forward
–
1
and downward)
Attached pipe
(Ø7/8" both forward
–
–
and downward)
Attached pipe
(Ø1/2" for draw-out
1
1
forward)
Attached pipe
(Ø1/2" for draw-out
1
1
downward)
Attached pipe
(Ø5/8" for draw-out
–
–
forward)
Attached pipe
(Ø5/8" for draw-out
–
–
downward)
Attached pipe
(Ø3/4" for draw-out
–
–
forward)
Attached pipe
(Ø3/4" for draw-out
–
–
downward)
5-EN
Shape
(Be sure to hand it to the
1
1
1
–
customers.)
1
1
1
–
This manual for installer.
Suction-side gas pipe
–
–
–
Ø1"→Ø7/8" pipe fitting
Suction-side gas pipe
1
1
1
Ø1"→Ø1 1/8" pipe fitting
Discharge-side gas pipe
Ø5/8"→Ø3/4" pipe fitting
–
–
–
* Flare the connector on the
outdoor unit for installation.
Discharge-side gas pipe
1
–
–
* Flare the connector on the
outdoor unit for installation.
Discharge-side gas pipe
Ø3/4"→Ø7/8" pipe fitting
–
1
1
* Flare the connector on the
outdoor unit for installation.
1
–
–
Liquid pipe
* Flare the connector on the
outdoor unit for installation.
1
–
–
–
1
–
Liquid pipe
* Flare the connector on the
outdoor unit for installation.
–
1
–
–
–
1
Liquid pipe
Ø5/8"→Ø3/4" pipe fitting
* Flare the connector on the
outdoor unit for installation.
–
–
1
– 3 –
3
Installation of R410 air conditioner
This air conditioner adopts the HFC refrigerant (R410A) which does not deplete the ozone layer.
Usage
• R410A refrigerant is vulnerable to impurities such as water, oxidizing membranes, or oils because the pressure
• To prevent mixing of refrigerant or refrigerating oil, the size of the charge port of the main unit or connecting
of R410A refrigerant is higher than that of the former refrigerant by approximately 1.6 times.
section of the installation tool differs to that of an air conditioner for the former refrigerant.
As well as the adoption of the new refrigerant, the refrigerating oil has been also changed. Therefore, pay
Accordingly, exclusive tools are required for the new refrigerant (R410A) as shown below.
attention so that water, dust, former refrigerant, or refrigerating oil does not enter the refrigerating cycle of the
• For connecting pipes, use new and clean piping materials so that water or dust does not enter.
new refrigerant air conditioner during installation.
• To prevent mixing of refrigerant or refrigerating oil, the size of the charge port of the main unit or connecting
section of the installation tool differs to that of an air conditioner for the former refrigerant.
Accordingly, exclusive tools are required for the new refrigerant (R410A) as shown below.
• For connecting pipes, use new and clean piping materials so that water or dust does not enter.
■ Required Tools and Cautions on handling
Prepare the tools and equipment listed in the following table before starting the installation work.
: R410A exclusive
: Generic
Tools/equipment
Manifold gauge*
Charging hose
Gas leak detector
Vacuum pump with backflow
prevention function
Flare tool
Bender
Refrigerant recovery equipment
Torque wrench
Pipe cutter
Brazing torch and nitrogen
cylinder
Refrigerant charging scales
4 mm hexagon wrench
Use
Vacuuming/charging refrigerant
and operation check
Gas leak check
Vacuum drying
Usable if dimensions are adjusted.
Flare machining of pipes
Bending pipes
Refrigerant recovery
Tightening flare nuts
Ø1/2" (12.7 mm) and Ø5/8" (15.9 mm)
Cutting pipes
Braze pipes
Charging refrigerant
Opening liquid valve
6-EN
