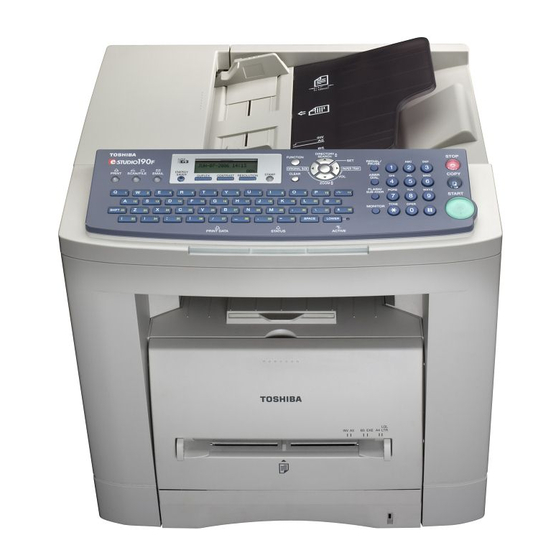
Toshiba E-Studio 190F Hızlı Kılavuz - Sayfa 16
Hepsi Bir Arada Yazıcı Toshiba E-Studio 190F için çevrimiçi göz atın veya pdf Hızlı Kılavuz indirin. Toshiba E-Studio 190F 40 sayfaları. Internet facsimile/email and network scan functions
Ayrıca Toshiba E-Studio 190F için: Hızlı Kılavuz (2 sayfalar), Hızlı Kılavuz (16 sayfalar)

Provided below is an overview of the installation procedures that are contained in this booklet. Please read all the
procedures completely before attempting to set up this device. Please install each device in the order as it appears
below.
1
Installing Your Machine
The following procedures require the power to be turned on
2
Setting Your Machine
3
Installing Printer Driver
16
Getting To Know Your Machine
Installation Overview
To set up your machine, follow the instructions on the page
provided for each section.
Important
Unpack the carton and visually check the condition of the
1
machine and make sure no missing accessories or any
shipping damage before installation. (See page 17)
Remove all Packing Materials and all Shipping Tapes. (See
2
page 18)
NOTE:
Do not plug the main unit's AC Power Cord until instructed
to do so.
Load the Paper. (See page 20)
3
Install the Toner Cartridge. (See page 20)
4
Connect all Cables and plug the Power Cord, and then turn
5
ON the Power Switch on the back of the machine. (See
page 19)
Setting the User Parameters.
1
(See page 22)
Set up the dialing method.
2
Refer to Operator's Manual included in the CD. (For
Facsimile and Copy Functions)
To set up the device for Printing and Advanced Features, refer
to the Operator's Manual "Software" included on the CD.
Insert the Document Management System CD.
1
The CD will launch automatically.
2
NOTE:
If the CD does not launch automatically, double click the
My Computer icon on the Desktop or on the Start menu,
then double click the CD icon.
Select the desired Language and follow the screen prompts
3
to install the Printer Driver and Advanced Features.
