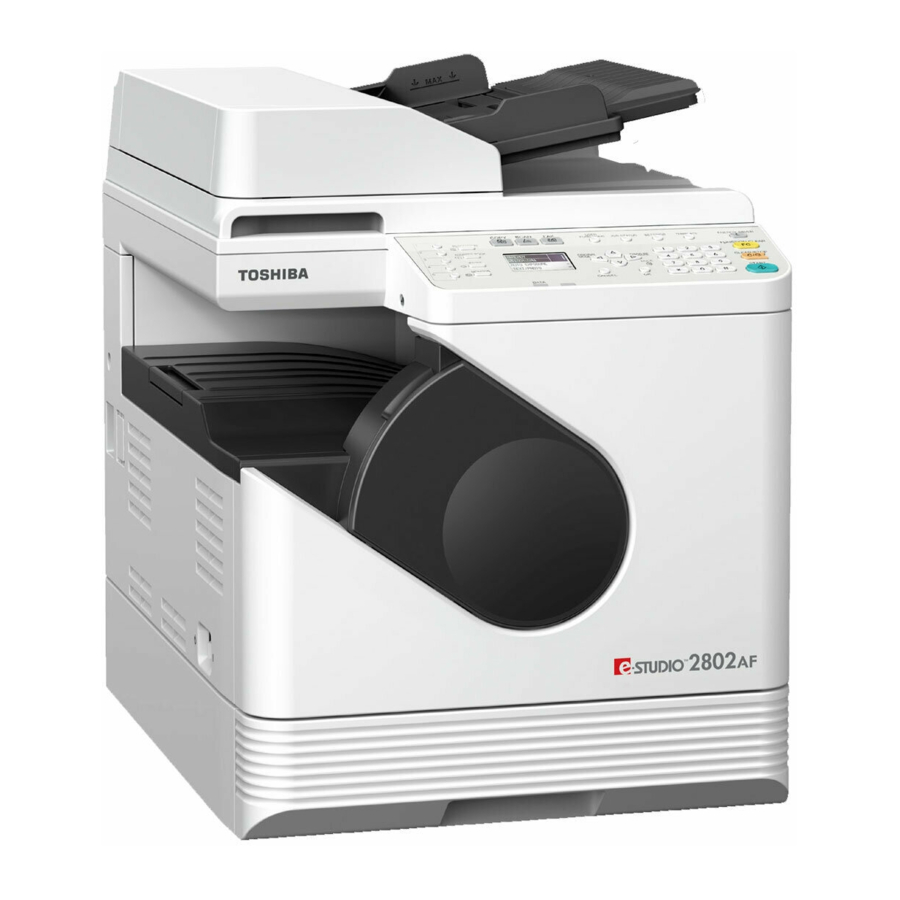
Toshiba e-studio 2809a Yazılım Kurulum Kılavuzu - Sayfa 35
Hepsi Bir Arada Yazıcı Toshiba e-studio 2809a için çevrimiçi göz atın veya pdf Yazılım Kurulum Kılavuzu indirin. Toshiba e-studio 2809a 48 sayfaları.

3.INSTALLATION IN MAC OS X
6
Click [OK].
The printer is added to the Printer List.
Configuring USB printing
1
Connect to your PC using a USB cable.
2
Open System Preferences and click [Print & Scan] (for Mac OS X 10.7.x or 10.8.x) or
[Printers & Scanners] (for Mac OS X 10.9.x or 10.10.x).
3
Set the following options.
Drawer 2 — Select this when the drawer 2 is installed.
Drawer 2 and 3 — Select this when the drawer 2 and 3 are installed.
Drawer 2, 3 and 4 — Select this when the drawer 2, 3 and 4 are installed.
ADU — Select the check box to use the Automatic Duplexing Unit.
4
Click [OK].
3 INSTALLATION IN MAC OS X
Installing the Printer in Mac OS X
33
