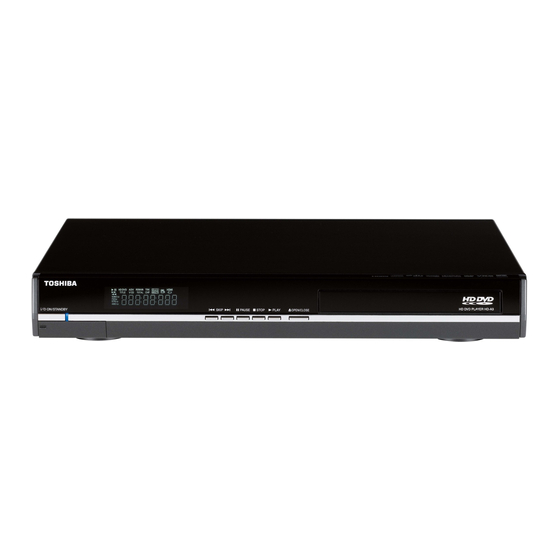
Toshiba HD-A3 - HD DVD Player Kullanıcı El Kitabı - Sayfa 17
DVD Oynatıcı Toshiba HD-A3 - HD DVD Player için çevrimiçi göz atın veya pdf Kullanıcı El Kitabı indirin. Toshiba HD-A3 - HD DVD Player 48 sayfaları. Hd dvd player
Ayrıca Toshiba HD-A3 - HD DVD Player için: Teknik Özellikler (2 sayfalar)

Step 3: LAN connection
You may use the internet connection feature to update the player's fi rmware. See
Some HD DVD discs may enable you to access special HD DVD sites, if you connect the player to the Internet via an
always-on broadband connection. For example, if an HD DVD site includes content such as links to future movie trailers, you
can watch the content on the player via the Internet. You do not need to connect to a PC to use this function.
Read the notes on
page 28 as well.
Broadband modem
(with integrated router)
Broadband
service
Broadband modem
Broadband
service
Note
• Depending on the internet service provider (ISP), the number of devices that can receive internet service may be limited by the applicable
terms of service. For details, contact your ISP.
Step 4: Power connection
After completing all connections, connect the supplied power cord to the AC IN socket and a wall outlet.
To a wall outlet
_ H D - A 3 K U _ E n g . i n d d 1 7
Connect either.
Router
Caution
• When plugging or unplugging the LAN cable, hold the plug portion of
the cable.
• When unplugging, do not pull on the LAN cable but unplug while
pressing down on the lock.
• Do not connect a modular phone cable to the LAN port.
• Since there are various connection confi gurations, please follow the
specifi cations of your telecommunication carrier or internet service
provider.
ON/STANDBY indicator on the player illuminates in red.
Caution
ON/STANDBY indicator
• Do not power this player using any power cord other than the one
supplied with this player.
• Do not use the supplied power cord with any device other than this
player.
page 35.
Use a commercially available straight LAN cable
(Category 5/CAT5 or better with RJ45 connector).
Press down to remove
Lock portion
Plug
17
7 . 8 . 2
4 : 4 :
P M
