Philips DCD3020 Kullanıcı Kılavuzu - Sayfa 11

Stereo sistemi Philips DCD3020 için çevrimiçi göz atın veya pdf Kullanıcı Kılavuzu indirin. Philips DCD3020 30 sayfaları. Dvd micro theater
Ayrıca Philips DCD3020 için: Hızlı Başlangıç Kılavuzu (2 sayfalar), Kullanıcı Kılavuzu (32 sayfalar), Kullanıcı Kılavuzu (33 sayfalar), Kullanıcı Kılavuzu (32 sayfalar), Kullanıcı Kılavuzu (41 sayfalar), Kullanıcı Kılavuzu (32 sayfalar), Kullanıcı Kılavuzu (2 sayfalar), Kullanıcı Kılavuzu (32 sayfalar)
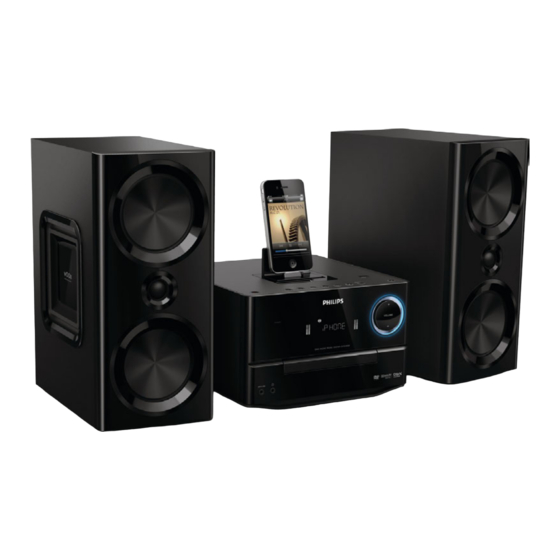
Philips DCD3020 Kullanıcı Kılavuzu
Option 1: Connect through the AUX
IN sockets
Connect audio cables (red/white - not supplied)
to:
• the AUX-IN (L and R) sockets on the back
of the unit.
• the audio output sockets on the external
audio device.
Option 2: Connect through the MP3-
LINK socket
Connect an MP3 link cable to:
• the MP3-LINK socket on the front of the
unit.
• the headphone socket on the external
audio device.

Connect power

Caution
Risk of product damage! Ensure that the power supply
voltage corresponds to the voltage printed on the back
or the underside of the unit.
Before connecting the AC power cord, ensure you have
completed all other connections.
Connect the AC power cord to
• the power socket on the back of the unit.
• the wall power socket.
EN
10

4 Get started

Caution
Use of controls or adjustments or performance of
procedures other than herein may result in hazardous
radiation exposure or other unsafe operation.
Always follow the instructions in this chapter in
sequence.
If you contact Philips, you will be asked for the
model and serial number of this apparatus. The
model number and serial number are on the
back of the apparatus. Write the numbers here:
Model No. __________________________
Serial No. ___________________________

Prepare the remote control

Caution
Risk of explosion! Keep batteries away from heat,
sunshine or fire. Never discard batteries in fire.
To insert the remote control battery:
1
Open the battery compartment.
2
Insert 2 AAA batteries (not supplied) with
correct polarity (+/-) as indicated.
3
Close the battery compartment.