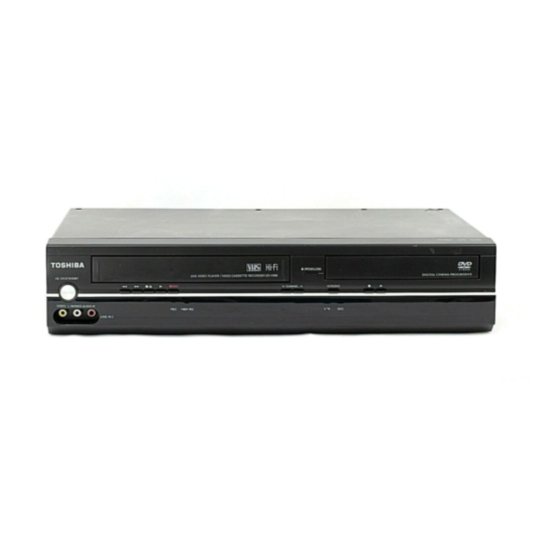
Toshiba SDV398KC Kullanıcı El Kitabı - Sayfa 18
DVD Oynatıcı Toshiba SDV398KC için çevrimiçi göz atın veya pdf Kullanıcı El Kitabı indirin. Toshiba SDV398KC 36 sayfaları. Dvd video player / video cassette recorder
Ayrıca Toshiba SDV398KC için: Kullanıcı El Kitabı (36 sayfalar)

Copying a Cassette Tape
Warning: Unauthorized recordings of copyrighted cassette tapes
may be an infringement of copyright laws.
1) Insert a pre-recorded cassette tape into another external
device for playback.
2) Insert a recordable cassette tape into this unit for recording.
3) Press [SPEED] on the remote control to select recording
speed (SP or SLP).
4) Select the "L1" or "L2" position on the recording unit.
• To use the input jacks on the back of this unit, select "L1"
position by pressing [0], [0], [1] on the remote control or
[CH. K / L ] on this unit.
• To use the input jacks on the front of this unit, select "L2"
position by pressing [0], [0], [2] on the remote control or
[CH. K / L ] on this unit.
5) Press [I REC] on the unit.
6) Press "PLAY" button on the external device.
7) To stop recording, press [
then stop playback of the external device.
DVD to Cassette Tape Duplication
This will be possible only if the DVD is not copy protected.
Before you begin:
• Insert a cassette tape in the cassette compartment. Make sure
the tape's record tab is intact and the tape is long enough to
record the DVD.
• Insert the DVD you want to copy in the disc tray.
• Turn on the TV and set it to the correct Video In channel. (Check
your TV owner's manual for details.)
1
Press [DVD]. Press [PLAY B] to play back the disc, then press
[PAUSE F] at the point where you want to start the recording.
Press [VCR] so VCR indicator lights up on the
2
front panel.
Press [CH. K / L] repeatedly until
"DISC" appears on the TV screen.
EN
E8EB6CD_SD-V398KC_EN_v1.indd 18
E8EB6CD_SD-V398KC_EN_v1.indd 18
] on this unit,
C/A (STOP/EJECT)
DISC
output jacks of
external device
AUDIO OUT
L
RCA audio/video
or
R
cables
VIDEO OUT
You can use a video disc player, cable/satellite box or other audio/video
component with audio/video output jacks.
Note:
• For best results during dubbing, use buttons on this unit whenever
possible. The remote control might affect another device's operation.
• Always use video-quality shielded cables with RCA-type connectors.
Standard audio cables are not recommended.
• L2 input jacks are on the front of this unit.
• You can use a video disc player, satellite receiver or other audio/video
component with Audio / Video outputs.
• "L1" or "L2" is found before the lowest memorized channel.
(Example: CH02)
3
Press [SPEED] repeatedly until the desired tape speed (SP or SLP)
appears briefly on the screen.
For details about tape speed, refer to page 16.
4
Press [REC/OTR] to start recording. "REC" will appear on the display
panel.
5
Press [DVD]. Press [PLAY B] to play back the disc.
• To pause the recording, press [VCR], then press [PAUSE F] once.
REC indicator on this unit will flash.
• To resume recording, press [REC/OTR] or press [PAUSE F] again.
REC indicator on this unit will light up again.
• To stop recording, press [VCR], then press [STOP C].
Note:
• A Timer Recording is not available during DVD to cassette tape duplication.
– 18 –
rear of the unit
L1
DVD/VCR
VCR
AUDIO OUT
AUDIO IN
L
L
R
R
VIDEO OUT
VIDEO IN
2009/01/29 17:05:25
2009/01/29 17:05:25
ANT-IN
ANT-OUT
