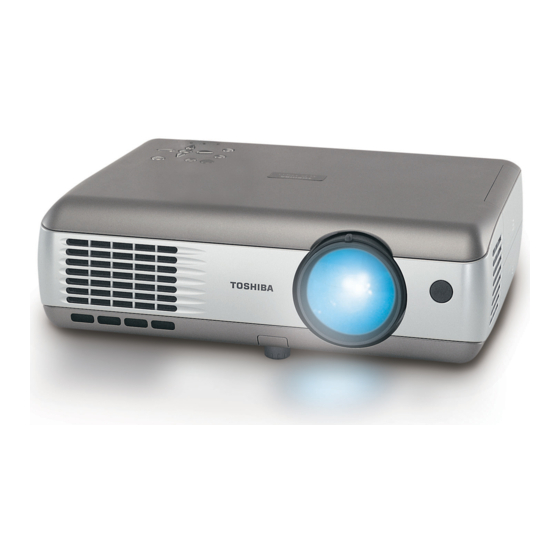
Toshiba TLP T721 Kullanıcı El Kitabı - Sayfa 15
Projektör Toshiba TLP T721 için çevrimiçi göz atın veya pdf Kullanıcı El Kitabı indirin. Toshiba TLP T721 37 sayfaları. 3lcd data projector

Basic operations (Continued)
5
Projector placement angle adjustments
The placement angle and the height of the projected image can be adjusted by the foot
adjuster.
q Lift up the front of the projector until
it is at the desired angle, then press
the foot adjuster release button.
The foot adjuster extends. Release the
button to lock the position.
w Turn the foot adjuster to fine-tune
the angle.
e To adjust the horizontal angle, use
the tilt adjuster.
To stow the foot adjuster, hold up the projector while pressing the foot adjuster
release button, then slowly lower the projector will the button depressed.
6
Adjusting the picture size and focus
q Use the zooming lever to adjust the screen
size.
w Use the focusing ring to adjust the focus.
7
Adjusting the volume with the
The speaker volume can be adjusted when an audio signal is being input.
Notes
• Note that the lamp characteristics may rarely cause the brightness to fluctuate slightly.
• A lamp is consumable supplies.
If used for extended periods, images will appear dark, and the lamp could burn out. This
is characteristic of a lamp, and is not malfunction. (The lifetime of the lamp depends on
conditions of use.)
• The LCD panel is made using extremely advanced technology, but there may be black
spots (pixels that do not light) or bright spots (pixels that are constantly lit) on the panel.
Please note that these are not malfunctions.
• Although this projector supports a wide range of RGB signals
supported by the model (XGA or SVGA, depending on the model) will be expanded or
shrunk, which will affect image quality slightly. To view high-quality images, it is
recommended that the computer's external output should be set to the projector's
resolution.
• With some models of computer having LCD displays or the like, displaying images
simultaneously on the projector and the monitor's display may prevent the images from
displaying properly. If this happens, turn off the computer's LCD display. For information
on how to turn off the LCD display, see the owner's manual of your computer.
• If a signal not supported by the projector is input, the
• If a no signal is being input from the connected device, the
• If an unavailable operation button is pressed, the
1
3
1
2
buttons
p.69
, any resolutions not
icon will appear.
icon will appear.
icon will appear.
28
Using handy features
G To operate via the remote control's
selected. Press the PJ Mode button. The button lights up. This light will go out 30
seconds after operations are complete. If necessary, press the button again.
I Using auto setting (Auto setting)
This function sets up the projector to the optimum state for
each type of the input signal by using simple operations.
1
Press the AUTO SET button.
The Auto setting menu appears.
2
Press the AUTO SET button again.
2
The menu item is automatically adjusted/set.
For computer input, the
processing.
Note
• Auto adjustment/setting may not be performed correctly for input signals other than
those supported by the projector
G Manual adjustment and setting
The menu items vary according to the input type, as shown in the table below.
Use the
the
button when you are finished. The menu disappears.
Input
Computer (1)
Computer (2)
Y/P
/P
(1)
B
R
Y/P
/P
(2)
B
R
Video
Video mode
S-video
Camera
Shutter speed
buttons, [PJ MODE] must be
icon will appear during
p.69
,
p.70
.
buttons to adjust the items in the table below, then press
Item
Description
Phase
Adjust with
to eliminate flicker.
Frequency
Adjust with
to eliminate periodic patterns and
flickering when many vertical lines appear in the screen.
H-position
Move left
Move right
V-position
Move up
Move down
Phase
Adjust with
to eliminate flicker.
Signal format [
: Enter to setting mode]
of the following]
[Apply:
480i(525i)@60Hz/480p(525p)@60Hz/
576i(625i)@50Hz/576p(625p)@50Hz/
720p(750p)@60Hz/720p(750p)@50Hz/
1080i(1125i)@60Hz/1080i(1125i)@50Hz/
1035i(1125i)@60Hz/1152i(1250i)@50Hz
[
: Enter to setting mode]
of the following]
[Apply:
NTSC/PAL/SECAM/PAL-N/PAL-M/PAL60/NTSC4.43
Set to local line frequency: 50Hz
29
Remote
Control
Control panel
INPUT
ON/STANDBY
VOL.-
VOL.+
AUTO
PJ MODE
LASER
KEYSTONE
MENU / ENTER
MENU
R-CLICK
INPUT
AUTO SET
VOL. +
VOL.-
AUTO SET FREEZE
AUTO
RESIZE
KEYSTONE
MUTE
FAN
TEMP LAMP
ON
ON/
STANDBY
OFF
[
: Select one
]
[
: Select one
]
60Hz
