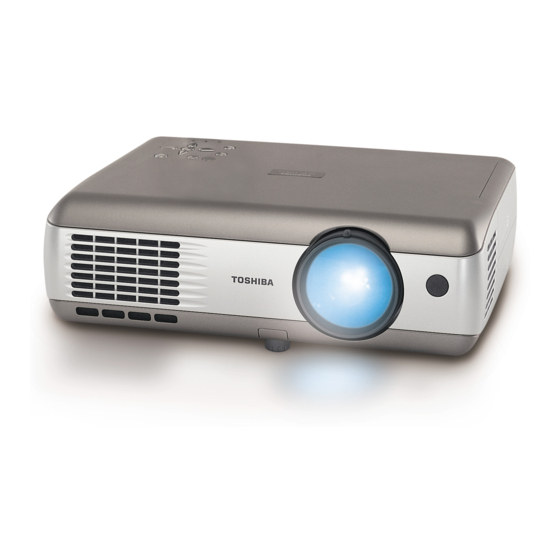
Toshiba TLP-S201 Kullanıcı El Kitabı - Sayfa 28
Projektör Toshiba TLP-S201 için çevrimiçi göz atın veya pdf Kullanıcı El Kitabı indirin. Toshiba TLP-S201 36 sayfaları. 3lcd data projector (xga / svga / high brightness / with pc card slot & document camera)

Using the menu (Continued)
The display setting menu
Use this menu to set screen display-related items.
Item
Screen size
(Full): Display with LCD panel's resolution
Not displayed with
(Thru): Display with sampling resolution (for computer input)
PC card input or
camera input.
(Wide): Wide-screen display (for Video, S-video, and Y/P
Select one of the languages below to use for displaying menus and messages
Language
[
: Enter setting mode]
English/Français/Deutsch/Italiano/Español/
Português/
/
Screen to display when there is no input signal
Background
Display icons as function guides
Icon
Display start-up screen when power turned on
Start-up screen
Note
• If "Thru" is selected for screen size, portions exceeding the pixel count of the LCD panel
p.67
will not appear on the screen. Note that for RGB signals with clock speeds UXGA
60
or lower, all input pixel signals are sampled. (This effect is noticeable when the
p.68
screen is enlarged using the Resize function
higher than this, the RGB pixel signal is thinned before sampling.
The PC card setting menu
Use this menu to set PC Card-related items.
When using a memory PC card
Item
Input select mode
Manual
Auto (Switch to PC card input when a PC card is inserted)
Auto. Demo
Off
On (Begin slid show when PC card is inserted)
Interval
Select one of the following slide show display intervals:
5 sec./10 sec./30 sec./1 min./3 min./5 min./10 min.
File deletion
Delete the selected file (Folders cannot be deleted)
[
: Enter execution mode]
Description
B
[
:Selection]
[Apply:
]
/
/
(Logo)
(Blue)
On
Off
On
Off
p.31
). However, if the clock speed is
(Models equipped with PC card slot)
Description
[Yes
No]
[Apply:
]
54
When the wireless LAN PC card is being used
Item
Input select mode
Transmission mode
Channel
Encryption
/P
)
R
Key
Projection
name
(None)
Setting
initialization
Note
• Wireless LAN settings are enabled after the menu disappears.
Reset menu
This menu is displayed when other menus are not displayed, and the
down until the menu appears.
• When the screen is placed vertically, and Auto keystone correction is executed, but
the keystone correction is not successful, stow the foot adjuster in its original position,
place the projector on a flat surface, select Horizontal reference value reset, and press
the
button.
• Select Reset All and press the
Item
Horizontal reference
value reset
Reset all
Description
Manual
Auto (Switch to PC card input when the PC card is inserted)
Ad hoc
Infrastructure
This item cannot be changed currently. This is function for the future.
[
: Enter setting mode]
[
:Selection]
Off
64bit
128bit
Set the desired string (5 or 13 characters)
[
: Enter setting mode]
[
: Shift column]
Set the desired string (1 to 14 characters)
[
: Enter setting mode]
[
:Shift column]
Return the wireless LAN configuration to the default settings
[
: Enter setting mode]
[Yes
No]
(Special menu)
button to return all menu items to the factory settings.
Description
Reset the horizontal reference value for Auto keystone correction
[
: Enter execution mode]
[Yes
Reset all menu items to their factory settings
[
: Enter execution mode]
[Yes
55
[Apply:
]
[
:Set character]
[Apply:
]
[
: Set character]
[Apply:
]
[Apply:
]
button is held
No]
[Apply:
]
No]
[Apply:
]
