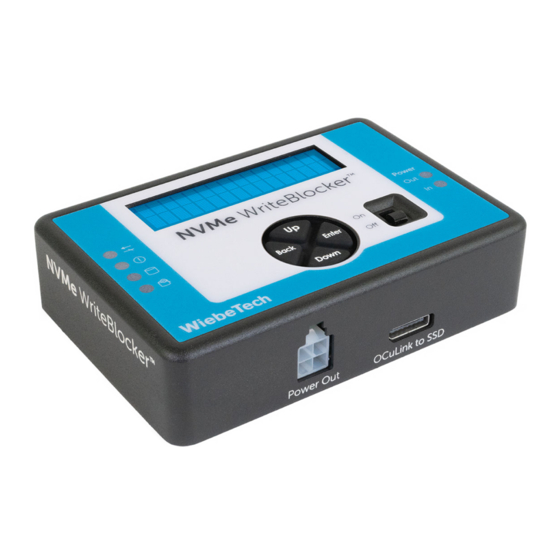
CRU NVMe WriteBlocker Kullanıcı Kılavuzu - Sayfa 6
Muhafaza CRU NVMe WriteBlocker için çevrimiçi göz atın veya pdf Kullanıcı Kılavuzu indirin. CRU NVMe WriteBlocker 12 sayfaları.

2. SETUP
1.
Ensure that the NVMe WriteBlocker power switch is in the "Off" position.
2.
Attach the AC adapter to the NVMe WriteBlocker and connect the other end to a power outlet.
3.
Connect the NVMe WriteBlocker to the drive.
•
U.2 drive: Connect the U.2-to-OCuLink adapter to the U.2 drive. Then connect the adapter's OCu-
Link connector and power connectors to the appropriate ports on the NVMe WriteBlocker.
•
M.2 drive: Attach the M.2 drive to the M.2-to-U.2 adapter. Next, connect the U.2-to-OCuLink
adapter to the other side of the M.2-to-U.2 adapter. Finally, connect the adapter's OCuLink and
power connectors to the appropriate ports on the NVMe WriteBlocker.
4.
Connect the NVMe WriteBlocker to the host computer with one of the included USB cables.
5.
Turn on the power switch. The connected drive will power up and then after a short standby message
appears the NVMe WriteBlocker main menu will appear on the LCD screen.
NOTE
The screen on the NVMe WriteBlocker will only move off of the "Standby" screen
when there is a host connection to the dock. Ensure that the NVMe WriteBlocker is
connected to both an NVMe drive and a computer.
The NVMe drive can now be accessed via your computer. The NVMe WriteBlocker will prevent any
changes to the data on the drive. If the device fails to mount, please consult the troubleshooting section
in the User Manual, located on the NVMe WriteBlocker product page at www.cru-inc.com.
NVMe WriteBlocker User Manual
6
