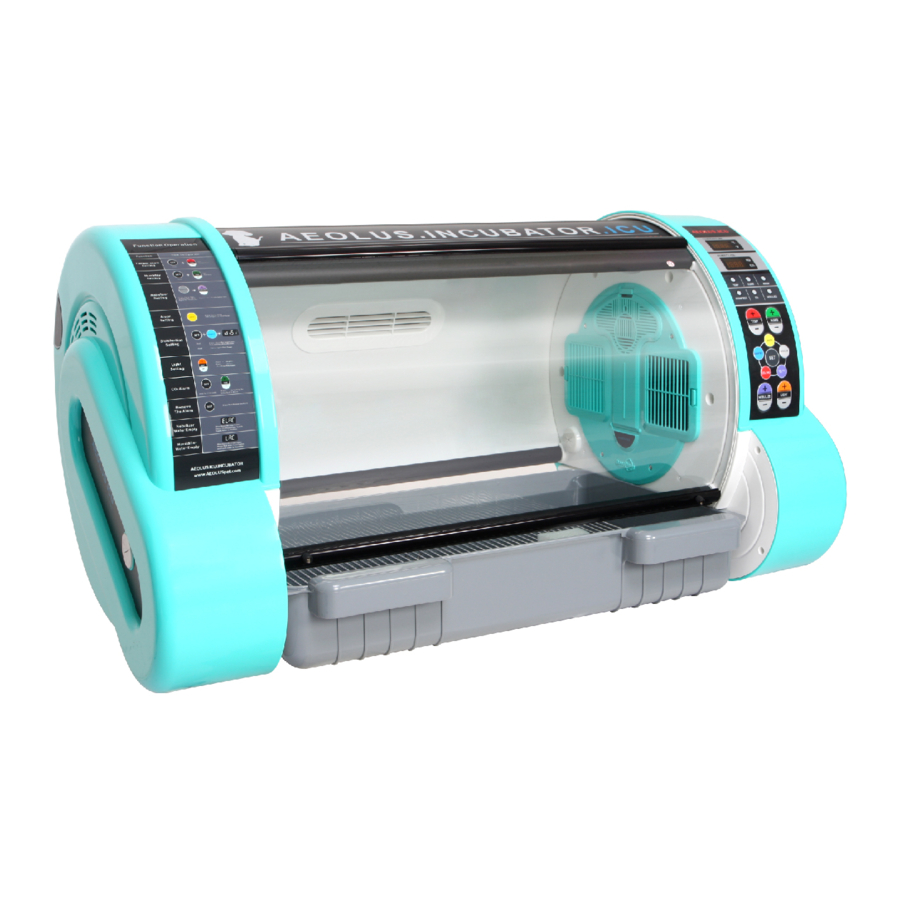
aeolus UC-1801 Hızlı Başlangıç Kılavuzu - Sayfa 3
Aksesuarlar aeolus UC-1801 için çevrimiçi göz atın veya pdf Hızlı Başlangıç Kılavuzu indirin. aeolus UC-1801 12 sayfaları. Professional vet equipments supplier

Summary of Important Notes
1. Please read the Instruction Manual carefully before using the machine. Nurses (and other pet care workers) should
be trained to operate the machine under the guidance of qualified medical care personnel who are familiar with the
functions of ICU/Young Pet Incubator and understand the risks and advantages of the machine.
2. Please count the parts and spare parts when unpacking, and read the Instruction Manual carefully.
3. The equipment shall be placed in a clean place with limited changes in temperature and humidity, protected from
direct sunlight and away from heat radiation.
4. To ensure the proper operation of the Pet ICU, please DO NOT fill the bottle with distilled water or purified water.
5. After the machine is turned on, please preset the temperature value, and warm it up for 3-5 minutes before use.
6. Please do not load weight onto the machine, and the maximum load capacity of the machine housing is 1-2
kilograms (2.2 to 4.45lbs).
7. Unsanitary cleaning materials will cause the generation of carbon dioxide, and thus increase the carbon dioxide
concentration in the pet ICU. The equipment should be inspected and cleaned. And the air purifying materials shall be
replaced in a timely manner and on a regular schedule.
8. The machine is equipped with an intelligent alarm system sensor for five faults; extreme temperature, excessive
moisture, indoor carbon dioxide concentration, lack-of-water in the tank and power supply Interruption. This alarm
system is tested and proven to be safe and reliable. If the machine fails, please inspect the systems immediately to
find out reasons and eliminate the faults. If the faults cannot be eliminated in a short time, please stop medical
treatment or care for pets, and ask for professionals or personnel from the AEOLUS Company to repair the machine.
9. Allow for the machine to have proper ventilation. Do not block the air outlet and return air inlet.
10. After being powered on, if the machine is not used, in order to ensure safety and energy-saving, please turn the
switch to off position and allow for sufficient power down before turning the switch back to on position.
11. Do not use alcohol or other organic solvents to wipe the thermostat cover of the tank. Keep it moisture free.
Product Use
1. Provides bacteria free and thermostatic incubation cocoon for young pets.
2. Allows for body temperature recovery, fluid infusion, atomization treatment, incubation, health improving
and comfortable, stable stay in the hospital (for observation for sick, dying and weak pets).
Product Installation
Built-in humidifier bottle: some parts of medical atomizer and the tank are separately packed. Please pay
attention not to damage or miss any parts or spare parts when unpacking.
1. Installation Checklist of the Whole Machine:
AEOLUS UC-1801 ICU.INCUBATOR cabinet -----------------------------------------------------------------------1
Built-in humidifier bottle ---------------------------------------------------------------------------------------------------2
Plastic neck of the humidifier bottle ------------------------------------------------------------------------------------3
Main body of the medical atomizer -------------------------------------------------------------------------------------4
Nozzle of the medical atomizer ------------------------------------------------------------------------------------------5
Medicine cup of the medial atomizer -----------------------------------------------------------------------------------6
Water tank of the medical atomizer -------------------------------------------------------------------------------------7
02
Soft gasket of the medical atomizer -------------------------------------------------------------------------------------8
Power line of AEOLUS UC-1801ICU.INCUBATOR --------------------------------------------------------------- --9
Stainless steel tray of AEOLUS UC-1801ICU.INCUBATOR -----------------------------------------------------10
2. Installation of Humidifier Vessel
As shown in Figure 4.2.1, the Humidifier Vessel is installed in the right control chamber of the AEOLUS
UC-1801 ICU.INCUBATOR. As shown in Figure 4.2.2, open the outlet cover, take out the built-in Water
Vessel, fill the built-in Water Vessel with water, as shown In Figure 4.2.2. And then put back the vessel
and place the cover in the proper position.
Notes:
a) The Humidifier and Water Level Sensor should be placed securely onto the vessel to prevent the
spill of water.
b) Do not fill the vessel with purified or distilled water, which may cause the malfunction of the Water
Level Control of the water tank and may eventually cause water to spill or leak.
c) The water level should not be above the Highest Level Line (HLV).
d) The purpose of the water purification filter material is to remove hard water scale and improve the
water quality. The validity period of each placement is 10-12 months. Colorless, tasteless and non-tox-
ic, the filter material meets the National Sanitary Standard for Drinking Water& GB1499- 1988 and can
effectively improve water quality.
Outlet Cover
Fig.4.2.1
3. Nebulizer Parts Installation
The 850EA Nebulizer is installed at the left side of AEOLUS UC-1801-ICU.INCUBATOR, could be
exposed once the protection grid removed, as showed in figure 9.1.1.
Five parts compose the 850EA nebulizer, including nozzle, cup lid, nebulizer panel, medicine cup and air
pipe.
These 5 parts need to be assembled in the order indicated in figure 9.1.2 and fixed by the C clip (f in
figure 9.1.2) before nebulizer switched on.
Animal-specific
medical nebulizer
Nebulizer grid tray
Fig.9.1.1
Humidifier
Water Level
Sensor
Highest Level
of Vessel
Water Vessel
Fig.4.2.2
Descrip�on BOM ID Quan�ty
nozzle
a
1
nebulizer clip
f
1
Descrip�on BOM ID Quan�ty
cup lid
b
1
air pipe
e
1
Descrip�on BOM ID Quan�ty
nebulizer panel
c
1
medicine cup
d
1
Fig.9.1.2
03
