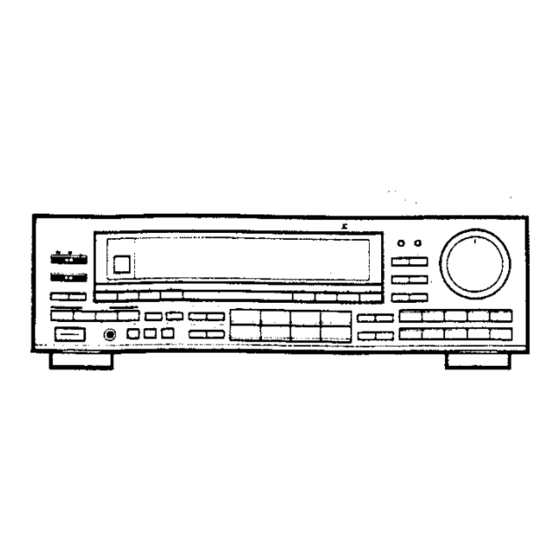
Pioneer VSX-5400 Kullanım Talimatları Kılavuzu - Sayfa 21
Stereo Alıcı Pioneer VSX-5400 için çevrimiçi göz atın veya pdf Kullanım Talimatları Kılavuzu indirin. Pioneer VSX-5400 47 sayfaları. Audio/video stereo receiver
Ayrıca Pioneer VSX-5400 için: Servis Kılavuzu (37 sayfalar)

BROADCAST RECEPTION
eA
For AUTO tuning:
3. Set the AUTO/MANUAL switch to the auto-tuning mode.
@ In the Auto-Tuning mode, the AUTO indicator will light.
4, Press the '' +
or "'-"' of the TUNING switches.
» Pressing ''+'' causes scanning to take place in the direction of
increasing frequency. Pressing ''—'' causes scanning to take place
in the direction of decreasing frequency.
* When a station is received, scanning will stop (the | TUNED
|in-
dicator lights). If you wish to receive a different station, press the
TUNING switches "+" or "—" again.
* When the received station is broadcasting a program in FM ste-
reo, the [|
EO | indicator will light.
er of the TUNING (—, +) switches during auto tuning
causes tuning te stop at the current frequency.
PRESET TUNING
For MANUAL tuning:
ee
3. Set the AUTO/MANUAL switch to the manual tuning mode.
@ When in the Manual Tuning mode, the MANUAL indicator will
light.
4. Press the "+" or '-"' of the TUNING switch as necessary to set
to the frequency of the desired station.
Each time the switch is pressed, the tuning frequency will change
by one step in the direction corresponding to the switch pressed.
When keep depressed, the switch continues scanning until it is
released.
* When a station is received, the [TUNED | indicator will light.
* When the received station is broadcasting a program in FM stereo,
the | STEREO | indicator will light.
5. Adjust the volume and tone as desired.
NOTE:
*° When Auto Tuning is used, correct reception may not be possible
for very distant stations or stations with very weak signals. In this
event, Manual Tuning is recommended.
° The (TUNED |indicator may not light with broadcasts received over
fong distances, or when the broadcast signals are extremely weak.
FREQUENCY PRESETTING
Set the rear panel STATION PRESET/STATION NAME switch to your
desired position.
STATION.
STATION
PRESET 40
ia NAME
>
e-ON
FONG
OFF
10: You can store a name for each station at this position, but each
STATION CALL switch can store one station (see page 22).
30: Aliows three stations per STATION CALL switch (press once,
twice, or three times to select).
1. Press the POWER switch to the ON position.
NOTE;
8e sure to turn the TAPE2 MONITOR switch OFF when listening to
AM or FM broadcasts.
3. Tune in the desired station.
* See the section "DIRECT ACCESS TUNING" for information on
reception using the Direct Access Tuning mode.
* See the section "AUTO TUNING" for information on reception
using the Auto Tuning mode.
See the section "MANUAL TUNING" for information on recep-
tion using the Manual Tuning mode.
in addition to station frequencies, the FM MODE (AUTO/MONO) can
also be preset.
4. Press the MEMORY switch.
5. Press the STATION CALL switch into which you wish to preset
the station.
® Use the STATION CALL switches (*1 — *9, *O} to select a preset
channel. When the rear panel STATION PRESET/STATION NAME
switch is set to 30, then one press selects the 1 ~ 10 range, two
presses 11 — 20, and three presses 21 — 30.
(Example) !f you press key [73] :
Once — STATION 3
Twice — STATION 13
Three times — STATION 23
Press a STATION CALL switch within two seconds.
6. Repeat steps 2 to 5 to preset additional stations.
If the rear panel STATION PRESET/STATION NAME switch is set
'to 30, then a total of 30 AM and FM stations may be preset. When
you store a new preset, it takes the place of the previously stored
station (if any}.
21
<ARB1174>
