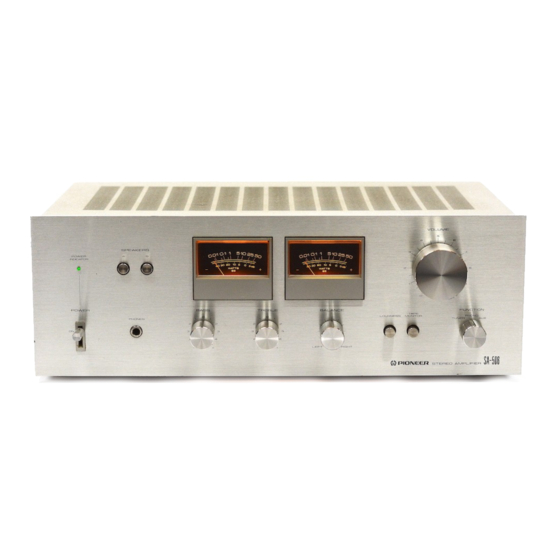
Pioneer SA-506 Servis Kılavuzu - Sayfa 5
Amplifikatör Pioneer SA-506 için çevrimiçi göz atın veya pdf Servis Kılavuzu indirin. Pioneer SA-506 47 sayfaları. Stereo amplifier
Ayrıca Pioneer SA-506 için: Kullanım Talimatları Kılavuzu (13 sayfalar)

1 3 7 6 m V
3. BLOCK DIAGRAM
35.6 dB -l
o l l k H z
I
|<_
-o7sd8
I
voL!
Ful,rcroN lf*t
"l
ll
PHONO
TUNER
A U X
I
TAPE
L PLAY
I
Reflective tape
Meter cover tape
IO POI{ER STAGÊ
4. DISASSEMBLY
R E M O V E B O N N E T ( F i s . 2 )
Remove the two mounting screw at the left and
right sides of the bonnet and remove the bonnet.
R E M O V E F R O N T p A N E L ( F i g . 2 )
Pull off all knobs (except push buttons). Then
remove shaft nuts of FUNCTION and BASS.
Take out upper left and right screws (2 screws) of
front panel and remove.
REMOVE BOTTOM PLATE(Fig. 2)
Take out 4 screws shown in figure and pull
rearward to remove.
M E T E R L A M P R E P L A C E M E N T ( F i g . t )
1. Remove the front panel.
2. Pull the meter from the body (the meter and
panel stay are attached with
double sided
adhesive tape through sponge).
3. Peel off the meter cover tape.
4. Peel off the reflective tape around the outside
of the meter.
5. Remove the meter lamp, using a soldering iron.
6. Install the new lamp in the reverse order to
removal.
Fig. 1 Meter lamp replacement
