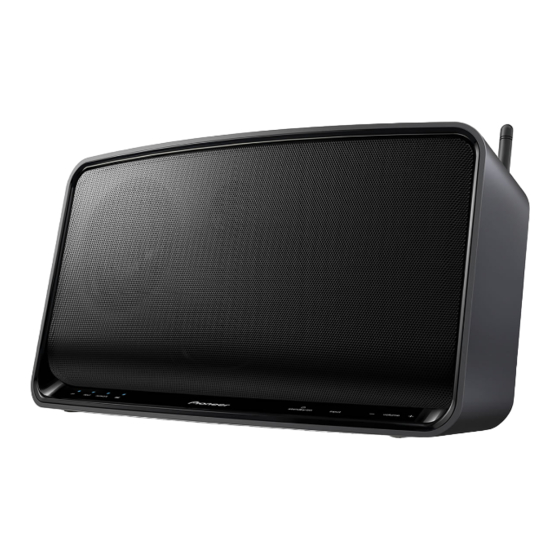
Pioneer XW-SMA3 Kullanım Talimatları Kılavuzu - Sayfa 27
Hoparlör Sistemi Pioneer XW-SMA3 için çevrimiçi göz atın veya pdf Kullanım Talimatları Kılavuzu indirin. Pioneer XW-SMA3 48 sayfaları. Wireless sound system
Ayrıca Pioneer XW-SMA3 için: Hızlı Başlangıç Kılavuzu (2 sayfalar), Ek Kılavuz (2 sayfalar)

Connect to network
Initial menu (System Information)
When Web Control is accessed, the following menu will
appear. This menu can be used to confirm detailed
information about the unit.
1
2
1
Network Configuration
Select this when using methods C or D in Network setting on
page 18 to make initial connection settings.
2
Friendly Name
Select this to change the "Friendly Name."
Network Configuration
When using procedure C in Network setting on page 18,
select AUTO or MANUAL before using this menu.
AUTO
SSID will be searched automatically, and can be selected
from the next pull-down menu. This is the normal method to
be used.
MANUAL
SSID and Security items must be input manually. Use this
method if the SSID is not displayed when using AUTO.
1
SSID
Using AUTO
Displays the recognized wireless access point. Select the
access point you wish to connect to.
Using MANUAL
The input must be no longer than 32 characters.
2
When using AUTO, this will be set automatically when
selecting SSID.
Select the encryption method depending on SSID.
3
If WEP is selected in step 2 Security, the WEP Key will be
displayed.
s1000.1000.0
Alternately, if WPA-PSK(TKIP), WPA-PSK(AES), WPA2-
XW-SMA1
PSK(TKIP), or WPA2-PSK(AES) is selected in Security, "WPA
Passphrase" will be displayed.
If you select None in the Security menu, no character string
will be displayed.
WEP Key
Displays the WEP key in the blank type.
WPA Passphrase
Displays the WPA Passphrase in the blank type. The WPA
Passphrase can be changed between 6 and 63 characters.
4
Switches the DHCP setting between ON and OFF.
Under normal conditions, leave ON. If you wish to input a
fixed IP, set this to OFF and the following input item will be
requested.
Item
IP address
Subnet Mask
Default Gateway
Primary DNS Server
Secondary DNS
Server
5
Press once settings have been completed. The unit will
automatically power down.
1
To use a wired connection thereafter, connect a LAN cable to
the router.
2
When using wireless connections, confirm that the LAN
cable is disconnected.
3
4
5
Security
WEP Key/
WPA Passphrase
DHCP
Operation
Set the IP address.
Set the Subnet Mask.
Set the Default Gateway.
Set the Primary DNS Server.
Set the Secondary DNS Server.
Apply
04
27
En
