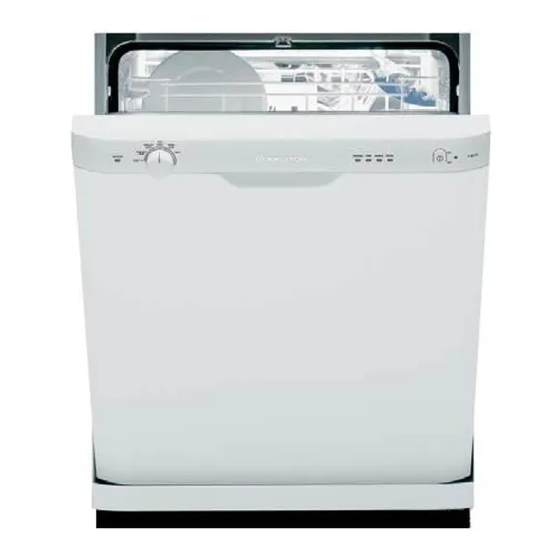
Ariston LL 64 Onarım Kılavuzu - Sayfa 12
Bulaşık Makinesi Ariston LL 64 için çevrimiçi göz atın veya pdf Onarım Kılavuzu indirin. Ariston LL 64 33 sayfaları.
Ayrıca Ariston LL 64 için: Kurulum ve Kullanım Kılavuzu için Talimatlar (17 sayfalar)

8. SOAP DISPENSER and WATER TEMPERATURE NTC
• To remove the Soap Dispenser (Fig. 8-1), first remove the Actuator Solenoid wiring and then the six (6) Phillips screws that mount
the Dispenser to the Inner Door. The Dispenser can then be removed and replaced as a complete assembly.
OPERATION: The Actuator Solenoid is energized twice during a complete cycle. The first actuation releases the Detergent and
also aligns the Dispenser Linkage for the second actuation which releases the Rinse Agent.
TECH NOTE: Located on the upper right corner of the Dispenser is the Water Temperature NTC. The NTC is hard wired to the
Main Control Board. If the NTC proves faulty the Main Control Board must be replaced. Also, Dishwasher Models
L63 / LL64 / LI 640 / LI 670 incorporate a Magnetic Reed Switch to activate the Rinse Aid LED. Models LL 65 &
LI 700 use a Turbidity Sensor, see Section 19 for details.
9. DOOR SPRING ADJUSTMENT and DOOR LATCH
• To adjust the tension on the Outer Door turn the two (2) 5mm Allen Screws Clockwise for
more spring tension and Counter Clockwise for less spring tension (Fig. 9-1).
• The Door Latch can be adjusted using a 7mm Nut Driver (Fig. 9-2)
REPAIR MANUAL
L 63 / LL 64 / LL 65
LI 640 / LI 670 / LI 700
Fig. 9-1
Fig. 8-1
Fig. 9-2
Page: 7
