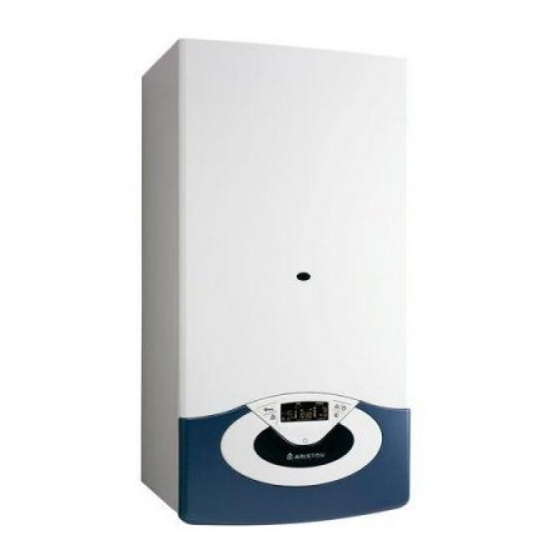
Ariston GENUS 24 FF Kurulum ve Servis Talimatları - Sayfa 19
Kazan Ariston GENUS 24 FF için çevrimiçi göz atın veya pdf Kurulum ve Servis Talimatları indirin. Ariston GENUS 24 FF 44 sayfaları. Wall-hung gas boiler
Ayrıca Ariston GENUS 24 FF için: Kullanıcı Kılavuzu (21 sayfalar)

Procedura di accensione
Premere il tasto ON/OFF sul pannello
comandi per accendere la caldaia il
display visualizza:
La modalità di funzionamento verrà visualizza dalle tre cifre
evidenziate nel disegno sopra riportato:
la prima cifra indica la modalità di funzionamento:
0 = Stand-by, nessuna richiesta, il testo sul display indica la
modalità di funzionamento selezionata (estate o inverno)
C = Richiesta riscaldamento
c = Post-circolazione riscaldamento
d = Richiesta acqua calda sanitaria
h = Post-circolazione dopo prelievo sanitario
F = Antigelo circolatore attivo o antigelo bruciatore attivo
la seconda e terza cifra indicano:
- in assenza di richiesta la temperatura di mandata
- in modalità riscaldamento la temperatura di mandata
- in modalità sanitario la temperatura impostata acqua calda
sanitaria
- in modalità antigelo la temperatura di mandata.
Viene inoltre segnalato lo svolgimento di alcune funzioni:
P1 - "Disareazione in corso" - Ciclo disareazione attivato
P1
P4 - "Riempimento in corso" - Riempimento semiautomatico attivato
P4
P4 - "Riempimento completato" - Riempimento semiautomatico attivato
P4
Predisposizione al servizio
Per garantire la sicurezza ed il corretto funzionamento dell'apparecchio
la messa in funzione della caldaia deve essere eseguita da un tecnico
qualifi cato in possesso dei requisiti di legge.
Alimentazione Elettrica
- Verifi care che la tensione e la frequenza di alimentazione coincidano
con i dati riportati sulla targa della caldaia
- verifi care l'effi cienza del collegamento di terra.
Riempimento circuito idraulico.
Procedere nel modo seguente:
- aprire il rubinetto di entrata fredda
- sollevare il tappo della valvola automatica di sfogo aria posta sul
circolatore
- accendere la caldaia, se necessario, premendo il tasto ON/OFF
e selezionare la modalità stand-by - non ci sono richieste né dal
sanitario né dal riscaldamento
- utilizzando il magnete fornito con la caldaia, agganciato al vassoio,
aprire l'elettrovalvola di riempimento agganciandolo come indicato
in fi gura
- togliere il magnete per chiudere l'elettrovalvola di riempimento
quando verrà indicata una pressione di 1-1,5 bar.
elettrovalvola
electro-magnetic valve
messa in funzione
bar
Estate
magnete
Summer
The operating mode will be indicated by the three fi gures marked
out on the diagram above.
The fi rst fi gure indicates the operating mode:
0 XX
-
Stand-by, the scrolling text show the operation mode selected
"summer" or "winter"
C XX - Central heating request
c XX - Heating post-circulation
d XX - Domestic hot water request
h XX - hot water post-circulation
F XX - circulation pump anti-freeze protection enabled
- burner anti-freeze protection enabled
The second and third fi gures indicate:
- the fl ow temperature when no heating requests have been made
- the fl ow temperature in central heating mode
- the temperature of the hot water in domestic hot water
- the fl ow temperature in anti-freeze mode.
The carrying out of certain functions is shown:
P 1- "Purge in progress" = Deaeration cycle started
P 4- "Filling in progress" = Filling cycle started
"Filling complete" = Filling cycle complete
Initial procedures
To guarantee safety and the correct operation of the appliance, the
boiler must be prepared for operation by a qualifi ed technician who
possesses the skills which are required by law.
Electricity supply
- Check that the voltage and frequency of the electricity supply
correspond to the data shown on the boiler data plate;
- Make sure that the earthing connection is effi cient.
Filling the hydraulic circuit.
Proceed in the following manner:
- Open cold water inlet tap;
- Lift the cap on the automatic air relief valve on the circulation
pump;
- Switch on the boiler, if necessary, by pressing the ON/OFF button
and use the M
button to select the standby mode, where no
ODE
hot water or heating requests are made.
- Use the magnet supplied with the boiler (hinged to the tray)
to open the fi lling solenoid valve by hinging it as shown in the
fi gure.
- Remove the magnet to close the fi lling solenoid valve, when a
pressure of 1-1.5 bar is shown.
commissioning
Ignition procedure
Press the ON/OFF button on the
control panel to switch on the boiler.
The display shows:
19
