Acom 1006 Kullanım Kılavuzu - Sayfa 9
Amplifikatör Acom 1006 için çevrimiçi göz atın veya pdf Kullanım Kılavuzu indirin. Acom 1006 20 sayfaları. 6 m linear amplifier

It is preferable that you use the wall outlet closest to the source. The installation wires should be at least
1.5sq.mm (AWG 15 or SWG 17) for 200-240 VAC and 2.5sq.mm (AWG 13 or SWG 15) for 100-120V AC.
Check if the respective fuses can handle current up to 10A for 200-240 VAC and 20A for 100-120VAC. Check
also whether the voltage corresponds to the voltage for which the amplifier is set (S.2-2). If you would
connect the amplifier to a new mains outlet, be sure that you check it, too.
Make sure the main Power Switch on the rear panel is in OFF position and then insert the amplifier's mains
plug into the prepared wall outlet. The amplifier remains switched off.
2-5. Installation of External Fan
This fan (Fig. 2-1) is not necessary in SSB and CW modes, nor in continuous carrier modes (RTTY, SSTV
etc.) with transmission times of maximum 15 minutes and a subsequent pause of 3 minutes or longer. For
higher duties or ambient temperatures the fan is recommended. The auxiliary fan (92x92mm) must be
brushless type, 2...5W/24VDC. It may be installed by your dealer or by the manufacturer on request.
3. POWER ON, CONTROLS AND INDICATORS
C A U T I O N
Do not turn the amplifier on for at least 2 hours after unpacking it in the room where it will be used. Pay
particular attention when you move it from a very cold into a very warm place since condensation is likely. A
similar effect can occur after a rapid warming of the operating room (for instance after switching on a powerful
heater in a cold room). In such a case, wait at least 4 hours. Any condensation appearance could result in
damage to the high-voltage circuits.
C A U T I O N
To avoid damage (not covered under warranty) carefully check that the voltage for which the amplifier is set
corresponds to your mains nominal voltage (see S.2-2 and table 2-1).
After following all instructions in S.2, you can turn ON the main power switch marked "LINE" on the rear panel
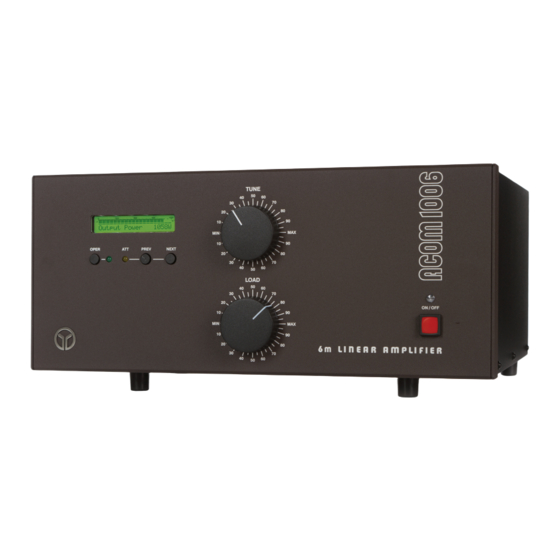
(Fig.2-1). The LED indicator above the red ON/OFF button (located on the front panel) must light red and a
black inscription "ACOM1006" will appear on the LCD (Fig.3-1):
Fig.3-1 ACOM1006 Display and Control
You'll note that the upper line of the LCD always shows directly peak forward power, even during standby and
"OFF LINE" operation. The full scale is 1200W with a resolution of 10W per bar. One division weight is 60W,
and figures are multiple to 300W. Note also that levels below 20W may be not detected.
8
