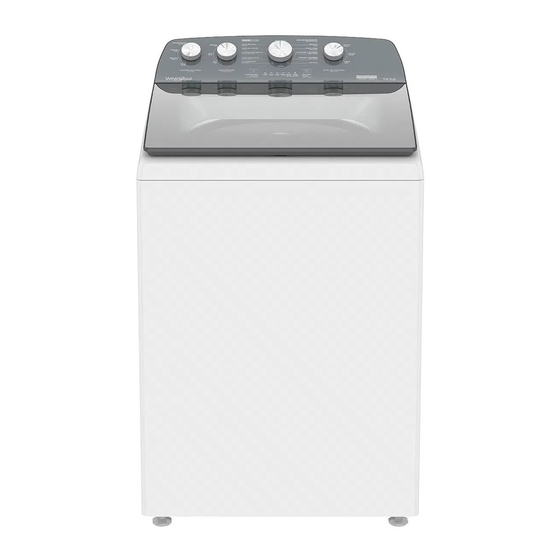
Whirlpool 8MWTW2024 Kullanım ve Bakım Kılavuzu - Sayfa 6
Yıkayıcı Whirlpool 8MWTW2024 için çevrimiçi göz atın veya pdf Kullanım ve Bakım Kılavuzu indirin. Whirlpool 8MWTW2024 44 sayfaları. Top-loading high efficiency washer
Ayrıca Whirlpool 8MWTW2024 için: Kullanım ve Bakım Kılavuzu (41 sayfalar)

1 Wash cycle knob
Use the Wash Cycle Knob to select available cycles on your
washer.
AUTOMATIC CYCLES
These cycles allows the user to wash clothes through an
automatic process that includes wash, rinse and spin.
Choose the correct cycle based on the type of clothes
MANUAL CYCLES
The manual cycle wash your clothes and allows the user to
control each phase of the wash manually.
2 Load Size
2.1 For some models equipped with Intelicarga® system, the
washer allows you to accurately adjust the load size in the
washer.
2.2 For models equipped with Auto Level, the water
level will be calculated automaticaly.
Once the cycle has started, the washer door will be
locked and the Auto Level function will start. This routine consists
on basket spinning combined with pauses for at least 1 minute.
Once the routine has been completed, the door will unlock and
the water level will be set. The wash cycle will begin after this.
RECOMMENDATIONS
For better auto water level calculation, add dry clothes.
Do not add more items once the Auto Level function has
been completed. The water level has been set at this point.
3 Temperature
Select a wash temperature based on the type of fabric and soils
being washed. For best results and following the garment label
instructions, use the warmest wash water safe for your fabric.
The rinse is always done with cold water.
09-Feb-2018 07:28:55 EST | RELEASED
4 Soil Level
The soil level (wash time) it's preset for each wash cycle. For
heavily soiled clothes, select the level "Intenso" (Intense). For less
soiled clothes select "Ligero" (Light).
5 Soak
The washer will start the Soak stage once the selected fill level
has been reached. Use this option to remove dirt stains
impregnated in clothing. The washer will soak during the selected
time: 30 min, 1 hour, 2 hours.
NOTE: You can also select this option using the button: "Select
Washing Stages" (Selección Etapas de Lavado) (See section
"How to Add soak to an automatic cycle").
5 Additional soak
This option can be used to automatically to add a second soak to
most cycles.
7 Delay start
Selecting this option will delay the start of the cycle. You can
choose between 1 - 12 hours, at 1-hour intervals according to
your preference.
If you want to cancel the selection, press the Delay start button
until the Remaining Cycle Time indicator displays "0". Wait a few
seconds for the Cycle time to appear in the display.
8 Indicator lights during the wash cycle
When you select a cycle, the display will show the Estimated
Remaining Time on the panel (a number will appear and indicate
if it is hours or minutes).
Factors such as the size of the load, the temperature of the water
during the wash, water pressure, tight loading and/or unbalanced
loads can affect the time displayed on the screen.
The clock-shaped indicator will light up when you select the Delay
Start and Soak options.
The Remaining Estimated Time will be displayed, according to
the option chosen, according to the following hierarchy:
1. Delay Start
2. Soaking
3. Cycle Time (including Additional Rinse, in case you selected
this).
In some European factories the letter "W" of the part code mentioned herein will be automatically
replaced by the number "4000" (e.g. "W12345678" becomes "400012345678")
6
