Ariston ASL 75 CXS NA Onarım Kılavuzu - Sayfa 12
Kurutucu Ariston ASL 75 CXS NA için çevrimiçi göz atın veya pdf Onarım Kılavuzu indirin. Ariston ASL 75 CXS NA 18 sayfaları. Condensation dryer
Ayrıca Ariston ASL 75 CXS NA için: Veri Sayfası (1 sayfalar), Broşür ve Teknik Özellikler (8 sayfalar), Kullanım ve Kurulum Kılavuzu (40 sayfalar), Bakım, Kullanım ve Kurulum Kitapçığı (40 sayfalar)
11. CONTROL BOARD & EEPROM
TECH NOTE 2
REPAIR MANUAL
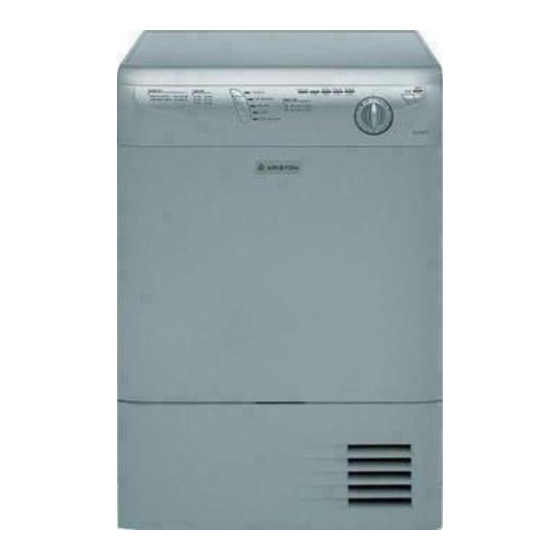
• To remove the Control Panel (Fig. 11-1), first remove the
Right Side Panel (see Section 10, page 8).
• Next, open the Front Lower Access Door and remove the two
Control Board mounting Phillips screws (Fig.11-2 & Fig.11-3).
• Remove each wiring connector, making sure to note each
wire and wiring connector location.
TECH NOTE 1: The access cap on the control board WILL NOT
have to be removed to remove the Control Board (Fig. 11-3).
Fig. 11-1
TECH NOTE 1
Fig. 11-2
TECH NOTE 2: When replacing the Control Board you must
also replace the EEPROM Chip. When ordering the replace-
ment Control Board make sure to also order the correct
EEPROM Chip for the Model being serviced (Fig. 11-4).
•
When installing the new EEPROM Chip make sure that
both the Chip Cut Out and the Chip Receptacle Cut Out
are aligned in the same direction (Fig. 11-5).
Fig. 11-4
ASL75CXS NA
Fig. 11-5
Fig. 11-3
Page: 9