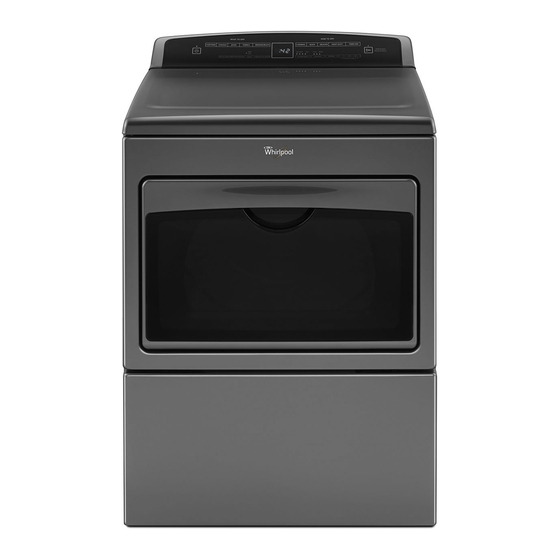
Whirlpool WTW7500GC Kullanım ve Bakım Kılavuzu - Sayfa 5
Kurutucu Whirlpool WTW7500GC için çevrimiçi göz atın veya pdf Kullanım ve Bakım Kılavuzu indirin. Whirlpool WTW7500GC 32 sayfaları. Electronic dryer
Ayrıca Whirlpool WTW7500GC için: Kurulum Talimatları Kılavuzu (40 sayfalar), Kullanım ve Bakım Kılavuzu (48 sayfalar)

Control Panel and Features
1
NOTE: The control panel features a sensitive surface that responds to a light touch of your finger. To ensure your selections are
registered, touch the control panel with your finger tip, not your fingernail. When selecting a setting or option, simply touch its name.
POWER
1
Touch to turn the dryer on and off. Touch to stop/cancel
a cycle at any time.
WHAT TO DRY/HOW TO DRY
2
First select a cycle from the "What to Dry" (automatic
cycles) and then select the "How to Dry" to get the best
combination cycle available for the type of items you
are going to dry. See the "Cycle Guide" chart for cycle
details.
START/PAUSE
3
Touch and hold until the LED comes on to start a cycle,
or touch once while a cycle is in process to pause it.
MODIFIERS
4
Use to select available modifiers for your dryer.
Temperature
When using a Timed Dry cycle, you may select
a dry temperature based on the type of load you are
drying, except for the Sanitize cycle. Use the warmest
setting safe for the garments in the load. Follow
garment label instructions.
NOTE: automatic cycles will give you up to three
temperatures to adjust and it varies, depending on
the "What to Dry" or "How to Dry" selections that
have been made.
Dryness
You may adjust the Dryness on automatic cycles
(except for the Sanitize cycle), if desired.
NOTE: Dryness is for use with automatic
cycles only.
+\- Timed Dry Adjust
Touch "+" or "–" with a Timed Dry cycle to increase
or decrease the length of the cycle.
SANITIZE
5
This is a long cycle with high heat, that has been
proven to reduce household bacteria. This cycle
is not recommended for all fabrics. Use for loads
of heavyweight fabrics.
2
7
6
4
5
LED DISPLAY
6
When you select a cycle, its default settings will light up
and the estimated time remaining (for automatic cycles)
will vary depending on "What to Dry" and
"How to Dry" selections or actual time remaining for
Timed Dry cycles (for manual cycles) will be displayed.
OPTIONS
7
Use to select available options for your dryer.
Drum Light
Select Drum Light to turn on the light inside the dryer
drum. When touched during a cycle, or when the
dryer is not running, the Drum Light turns on and will
remain on until Drum Light is touched again, the door
is opened and closed, a cycle is started, or the door
is left open for 5 minutes.
Touch Drum Light at any time to turn the drum light
on or off.
Wrinkle Shield
™
If you will be unable to remove a load immediately,
touch Wrinkle Shield
periodic tumbling to help reduce wrinkling.
Signal
Use this to turn the signal indicating the end
of a drying cycle to low, high, or off. The volume you
select here will also be applied to the Damp Dry Signal.
NOTE: You may also turn off the tones that sound
when a feature, setting, or option is touched. Touch
and hold Signal for about 3 seconds to turn sounds
to low, high, or off.
Damp Dry Signal
Touch to select the Damp Dry Signal. The volume
will be the same sound level as the "Signal" option
indicates. When selected, a series of beeps will sound
when the load is damp, but not completely dry. This
will allow you to take clothes out of the load that do
not need to dry completely. This option is available
on some cycles. The Damp Dry Signal is selected as
a default for the Bedding/Bulky cycle, as a reminder
to manually reposition bulky loads midway through
the cycle.
3
4
to add up to 150 minutes of
™
5
