Whirlpool 30" AND 36" (76.2 AND 91.4 CM) WALL-MOUNTCANOPY RANGE HOOD Kurulum Talimatları ve Kullanım & Bakım Kılavuzu - Sayfa 7
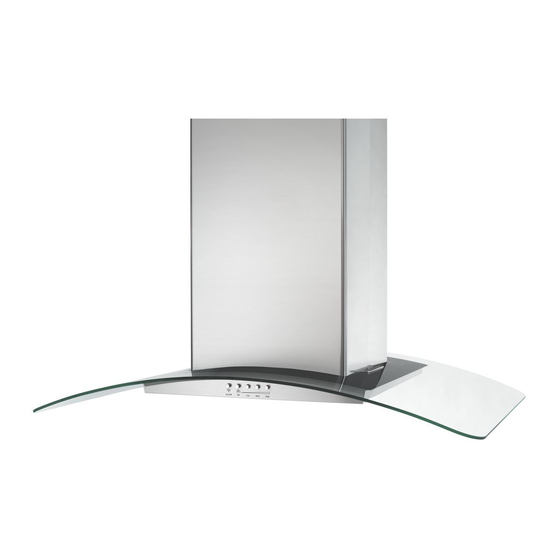
Havalandırma Davlumbazı Whirlpool 30" AND 36" (76.2 AND 91.4 CM) WALL-MOUNTCANOPY RANGE HOOD için çevrimiçi göz atın veya pdf Kurulum Talimatları ve Kullanım & Bakım Kılavuzu indirin. Whirlpool 30" AND 36" (76.2 AND 91.4 CM) WALL-MOUNTCANOPY RANGE HOOD 28 sayfaları. 30" and 36" (76.2 and 91.4 cm) wall-mount canopy range hood
Ayrıca Whirlpool 30" AND 36" (76.2 AND 91.4 CM) WALL-MOUNTCANOPY RANGE HOOD için: Kurulum Talimatları Kılavuzu (28 sayfalar)
5. For wood, drill ³⁄₁₆" (4.8 mm) pilot holes at all locations
where screws are being installed into wood.
For wall anchors, drill ⁷⁄₁₆" (10 mm) holes at all locations
where wall anchors are being used.
6. For wood, install (2) 5 x 45 mm mounting screws. Leave a
¹⁄₄" (6.4 mm) gap between the wall and the back of the screw
head to slide range hood into place.
For wall anchors, install the 10 x 60 mm wall anchors and
install the 5.4 x 75 mm screws into the wall anchors. Tighten
until the wall anchors are secure. Back the screws out ¹⁄₄"
(6.4 mm).
¹⁄₄"
(6.4 mm)
Vent Cover Bracket Installation
7. Attach vent cover bracket to wall flush to the ceiling using (2)
5 x 45 mm screws. Use the optional wall anchors if needed.
A. Ceiling
B. Wall
C. Centerline
Complete Preparation
1. Determine and make all necessary cuts in the wall for the
vent system. Install the vent system before installing the
hood. See "Venting Requirements" section.
2. Determine the required height for the home power supply
cable and drill a 1¼" (3.2 cm) hole at this location.
3. Run the home power supply cable according to the National
Electrical Code or CSA Standards and local codes and
ordinances. There must be enough ½" conduit and wires
from the fused disconnect (or circuit breaker) box to make
the connection in the hood's electrical terminal box.
NOTE: Do not reconnect power until installation is complete.
4. Use caulk to seal all openings.
A
B
C
Install Range Hood
1. Using 2 or more people, hang range hood on 2 mounting
screws through the mounting slots on back of hood.
B
A
A. Mounting screws
B. Mounting slots
C. Lower mounting screws
2. Remove the grease filter. See "Range Hood Care" section.
3. Level the range hood and tighten upper mounting screws.
4. Install (2) 5 x 45 mm lower mounting screws and tighten.
Use the optional wall anchors if needed.
Connect Vent System
1. Install transition on top of hood (if removed for shipping) with
(2) 3.5 x 9.5 mm sheet metal screws.
A
B
A. Vent transition
B. 3.5 x 9.5 mm screw
For Vented Installations Only:
1. Fit vent system over the exhaust outlet.
2. Seal connection with clamps.
3. Check that back draft dampers work properly.
For Non-Vented (Recirculating) Installations Only:
1. Assemble the air deflector with the duct cover bracket
using (4) 4.2 x 8 mm screws.
C
A. Assembly screws
B. Air deflector
C. Duct cover bracket
C
A
B
7