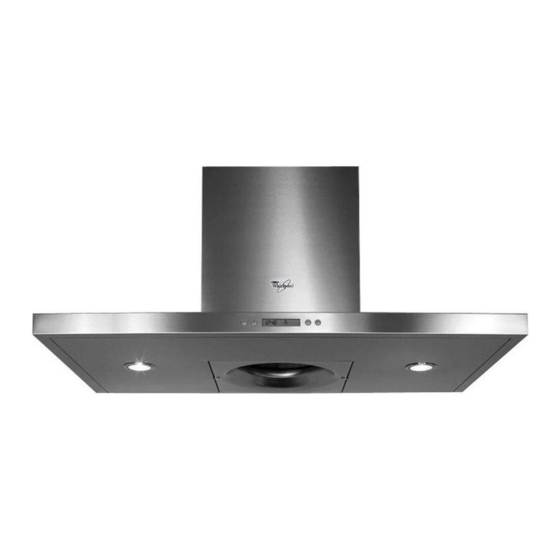
Whirlpool 968 Kullanım Kılavuzu - Sayfa 10
Havalandırma Davlumbazı Whirlpool 968 için çevrimiçi göz atın veya pdf Kullanım Kılavuzu indirin. Whirlpool 968 10 sayfaları. Decorative deep silent stainless steel cooker hood, akr 968 ix

Maintenance
Important! Always disconnect the hood before
cleaning or carrying out maintenance by unplugging it
or switching off the power supply.
Grease filter maintenance
Retains fat particles produced during cooking.
Wash the metal grease filter once a month (or when the filter
saturation system indicates cleaning is necessary) with a mild
detergent, by hand or in a dishwasher using a low
temperature and a short wash cycle.
Cleaning in a dishwasher may cause the metal grease filter to
discolour, but this in no way affects its filtering efficiency.
Remove the grease filter - Fig. 2
Remove the grease filter by turning the knobs (g) that secure
it to the hood through 90°, then remove downwards.
To refit the grease filter proceed in reverse order.
Carbon filter maintenance
Retains any unpleasant odours produced during
cooking.
Unlike traditional carbon filters, this carbon filter can be
washed and reactivated.
With normal hood use, the filter should be cleaned once a
month. The best way to clean the filter is in a dishwasher at
the highest temperature possible, using a normal dishwasher
detergent. To avoid particles of food or dirt settling on the
filter during washing and giving rise to unpleasant smells, it is
advisable to wash the filter on its own. After washing, dry the
filter in the oven at 100°C for 10 minutes to reactivate it.
The filter will retain its odour-absorbing capacity for three
years, after which it must be replaced.
Fitting the carbon filter - Fig. 3
Remove the grease filter.
Position the wadding around the grease filter and secure it in
place using the securing device.
Fit the top plug and secure in place with the retaining spring.
Refit the grease filter complete with the carbon filter.
To remove, proceed in reverse order.
Replacing bulbs - Fig. 4
1. Disconnect the hood from the mains power supply.
WARNING: Wear gloves.
2. Use a small screwdriver to gently prise the lamp cover off
(at the points indicated in Fig. 4).
3. Remove the burnt-out lamp and fit a new one.
WARNING: Replace using 20W max G4 halogen bulbs
only.
4. Close the lighting unit (snap-on)
If the lamps are not working, check that they are fitted
properly in place before contacting the After Sales Service.
5019 318 33305
PL
CZ
SK
H RUS BG RO
Fig. 2
Fig. 3
Fig. 4
GB
