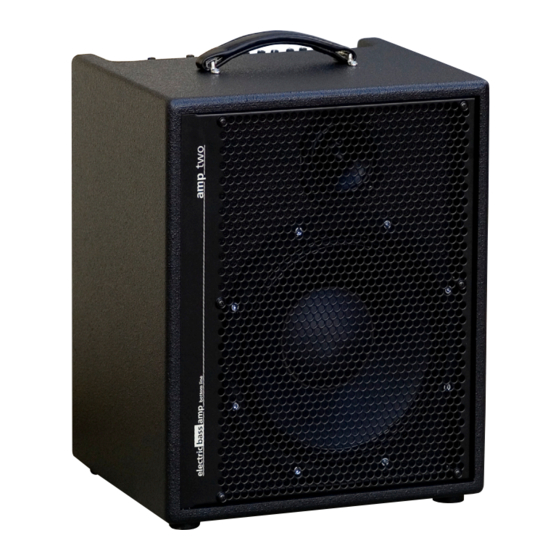
AER Bottom Line Amp Two Kullanım Kılavuzu - Sayfa 5
Amplifikatör AER Bottom Line Amp Two için çevrimiçi göz atın veya pdf Kullanım Kılavuzu indirin. AER Bottom Line Amp Two 8 sayfaları.

Rear panel
Left to right
line out
pre/post master
Switches the line output pre or post master
volume control
headphones
Caution! Use only stereo headphones.
Please insert no mono cables!
line out
Preamp output
sub out
Unfiltered output for an active subwoofer
footswitch
Stereo footswitch socket,
TIP = mute, RING = effect on/off
send
Output to an external effects unit
return
Input from an external effects unit
insert pre eq
Insert loop pre EQ
insert post eq
Insert loop post EQ
aux in
Stereo input jack for connecting a CD player e.g.
tuner
Output to an external tuner.
May also be used when input is muted
aux level
Aux signal level control
hf level
Additional treble control (has only effect
on the onboard speaker)
DI pre/post eq
Selector switch for the DI output signal;
pre or post equalizer and effects
DI level
Signal level control at DI output
DI out
Balanced XLR output, pre master
ground lift
Disconnects signal ground from protective ground,
thereby eliminating hum problems with so-called
ground loops. However, this button should normally
remain switched off (i.e. not pushed).
power on
Combined power switch with fuse holder
and mains input socket
5. Operation summary
• Cabling and startup
Check if your local mains voltage (e.g. 120 V in the USA, 230 V in Euro pe) com-
plies with the required operating voltage for your amp two. The proper mains
voltage is printed on the rating plate on the rear panel of the unit, e.g. AC 230V
(AC means alternating current).
Please take care that the master and intensity controls are set to zero (left
stop) and all other controls to their center positions. Don't forget the unobtru-
sive hf level control on the rear – it has a strong effect on the treble response!
The pushbuttons should be switched off (not pushed in). Next make all the
necessary cable connections (mains, instrument etc).
Now you may turn on your amp two with the power-on switch located on the
back. The green power control LED will indicate operational readiness.
• Level adjustment
Using the high/low switch and the gain control you can adapt different pick-
up systems or other signal sources to the amp two.
The best possible sound quality is achieved when the gain control is set neit-
her too high (distortions) nor too low (noise, too little volume). While playing
with a strong attack, turn the gain control clockwise until the clip indicator
flashes momentarily. Now turn back the gain control slightly (and also the
instrument's volume control, if needed) to ensure an undistorted reproduc-
tion. The clip control LED should now only rarely flash. In case you have pro-
blems with that because the input signal is too strong, press the high/low
button as well.
Finally set the desired overall volume with the master control. With the mute
switch you can mute the amplifier as required.
• Equalization
Hopefully we have designed the filters in such a way that you can use the EQ
network as a flexible and universal tool which lives up to the great variety of
basses and voices. One more note: Adjusting the EQ controls can also affect
the level setting. Whenever you see the clip indicator flashing frequently, you
should slighty correct the gain setting (see 'Level adjustment').
Tell us if we're right!
However, we feel that it takes more to give the instrument a round, well-ba-
lanced sound. An extreme treble boost (inharmonic reproduction characteris-
tic, especially in connection with active bass electronics) will also increase hiss
and noise, of course.
• Compressor
All our amplifiers offer a dynamics control (limiter). Furthermore you can also
activate a compressor in the instrument channel (aux-in remains unaffected).
Besides using it as a mere bass effects device, the compressor can also help to
level out dynamic contrasts between different signal sources.
• Additional Connectors
headphones: Allows the connection of a stereo headphone set. Caution: can
only handle stereo jack plugs, please do not insert any mono jack plugs!
line out: This output provides the master signal including equalization and
eff ects, e.g. for connecting an active extension speaker cabinet. The line out
pre/post master switch lets you select if or not the output signal level shall be
independent from the master volume control.
sub out: Allows the connection of an active subwoofer.
The footswitch jack allows the connection of a standard dual footswitch by
means of a stereo cable. With this the external effect (send / return) may be
switched on or off, in addition the mute function may be remote-controlled
(see also technical specifications).
send and return: Using these jacks an external effects unit may be linked in
‚parallel' , i.e. the effect is blended with the original signal.
insert pre eq and insert post eq: Using these jacks an outboard device may
be linked pre or post equalization „in series", i.e. the signal path will be inter-
rupted and the signal entirely fed through the outboard device. Connection
is normally made with a so-called splitter cable (stereo to 2x mono) – see also
technical specifications.
aux in: Stereo jack input (left and right channel are summed) for a playback
signal (e.g. CD).
tuner: A tuner may be connected to this signal output. Thus any sound degre-
dation is prevented as the tuner is no longer connected directly to the instru-
ment. The tuner output may also be used after the amplifier has been muted
with the mute switch.
DI out: Balanced pre master XLR output (suitable for linking the amp two di-
rectly to a PA system or for recordings). The DI out pre/post eq switch determi-
nes if the signal shall be output with or without equalization and effects.
