Whirlpool WVI30336LS Kurulum Talimatları ve Kullanım & Bakım Kılavuzu - Sayfa 9
Havalandırma Davlumbazı Whirlpool WVI30336LS için çevrimiçi göz atın veya pdf Kurulum Talimatları ve Kullanım & Bakım Kılavuzu indirin. Whirlpool WVI30336LS 32 sayfaları. 30" and 36" (76.2 and 91.4 cm) island-mount canopy range hood
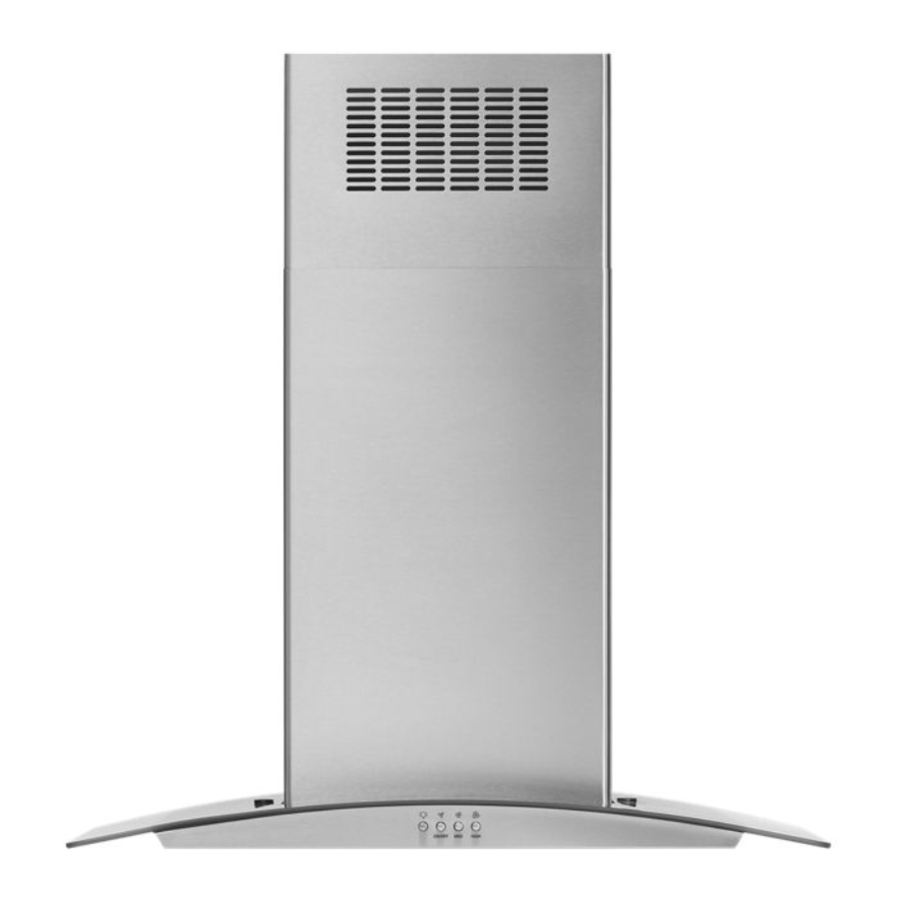
5. Using 2 or more people, lift the range hood assembly under
the structure.
A. Lower vertical supports
B. Range hood assembly
6. Attach the range hood assembly to the lower vertical
supports with 2 leveling screws and 2 nuts.
D
A. 2 - Leveling screws
B. Lower vertical support
A
B
C
C. Place leveling screws
through the structure
D. Nut
7. Install the 4 vertical supports with 16 - 4.2 x 8 mm screws.
Make sure all screws are securely tightened.
A
B
A. 4 - Lower vertical supports
B. 16 - 4.2 x 8 mm screws
Install Range Hood
NonVented (recirculating) Installation
1. Attach the air deflector to the upper horizontal support using
4 mounting screws.
B
A
A. Deflector
B. Mounting screws
2. Measure the length of 6" (15.2 cm) duct needed to connect
the transition to the deflector.
NOTE: Vent should fit up inside the deflector 1" (2.5 cm)
minimum.
3. Install vent between the transition and the deflector.
NOTE: To make vent installation easier, temporarily remove
the deflector from the chimney support bracket and replace
after vent section is in place.
4. Seal all connections with vent clamps.
Connect Vent System
1. Install vent system.
2. Push duct over the exhaust outlet. Seal all connections with
vent clamps.
3. Use caulk to seal all openings.
B
9