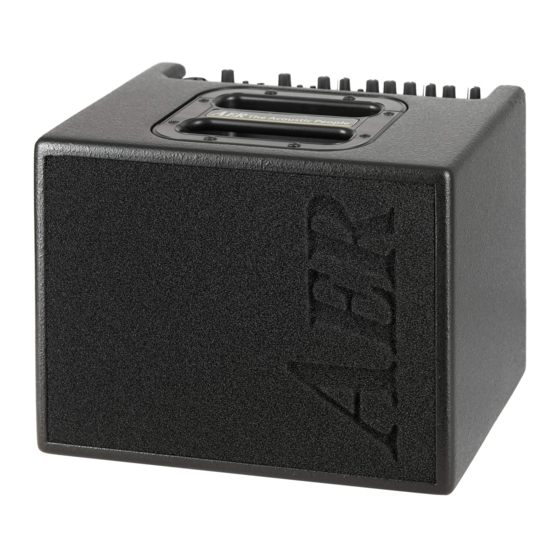
AER Compact Classic pro Kullanıcı Kılavuzu - Sayfa 15
Amplifikatör AER Compact Classic pro için çevrimiçi göz atın veya pdf Kullanıcı Kılavuzu indirin. AER Compact Classic pro 20 sayfaları.
Ayrıca AER Compact Classic pro için: Kullanıcı Kılavuzu (20 sayfalar)

7. Input-Presets
The Compact Classic pro is equipped with a very
musical 3-band bassparametric equalisation for
both inputs at the same time. It is designed to
provide you with an accurate tool to change the
timbre of your instrument and help you work
against possibly resonance/feedback problems in
the low registers. The bandwidth switch changes
the functioning of the bass eq from broad to narrow
filter structure. There is no strict instruction of how
to make use of an eq in general and a parametric
in special. Just try by intuition keeping in mind that
the eq should help to find the best possible perfor-
mance regarding sound and feedback. However,
always avoid overdoing and compare the natural
sound of your instrument to the amplified as
reference. The presence control at the rear adjusts
the amount of treble provided. Use both presence
and treble control to match your understanding of
warmth in sound.
Note: The tone controls are active and have an im-
pact on the internal levels of the amp. Please keep
an eye on the clip indication!
L
(line) for instruments with active preamps or
magnetic pickups.
M
(Mic) balanced microphones with XLR or
stereojack. Also suitable for unbalanced micro-
phones with mono-input jack.
P
(Piezo) for piezo-equipped instruments. Use
mono-input jack.
P/M (Piezo/Microphone) Mixing input for instru-
ments with piezo-pickups and active micro-
phone (5V phantom-power).
Blender mode:
stereo jack with tip = piezo and ring = mic
(electret, 5 volt supplied) to address
gain1 and gain 2
Important:
Turn on the phantom-power only if you need it.
48 Turn on this switch with 'M' to connect a micro-
phone with 48V phantom-power.
9
Turn on this switch with 'L' or 'P' to connect an
instrument with active preamp and 9V phan-
tompower.
Tip = signal
Ring = 9V
Attention: Make sure that your instrument/micro-
phone works with phantom power before you use
the 9/48 V switch. Otherwise it can damage your
instrument.
General Note:
Use of 48 V or 24 V phantom power
(Phantom power = remote supply, here: pow-
ering an audio device via the connected audio
line)
Turn on the phantom power only if the unit
connected to an XLR socket that is designed to
handle it!
In general, suitable units are e.g. condenser
microphones, active DI-boxes and other special
audio devices, whose power supply is drawn
from the phantom power. Such devices are also
labelled accordingly; please heed the permissib-
le power consumption (max.10mA).
High-quality dynamic microphones with a ba-
lanced signal need no phantom power, but can
handle it anyway.
Other devices, which have not been designed
explicitly for phantom power operation, can suf-
fer from considerable malfunctions and damage
may result as well.
Examples of devices that may be damaged
by incorrect application of phantom power
include:
Low-cost dynamic microphones with a mono
jackplug (unbalanced signal) that were fitted
afterwards with an XLR connector.
Audio devices with a balanced XLR output (e.g.
DI-boxes, effects devices, instrument preamps
with a DI output etc.) which are not protected
against phantom power applied to their XLR
output. (The DI connectors on AER products are
protected against applied phantom power.)
Other audio devices (such as preamps, effects
pedals etc.) whose unbalanced line output was
replaced by an XLR socket.
If in doubt please consult the manufacturer of
15
