General Information and Instructions
INSTRUCTIONS FOR MAKING JERKY
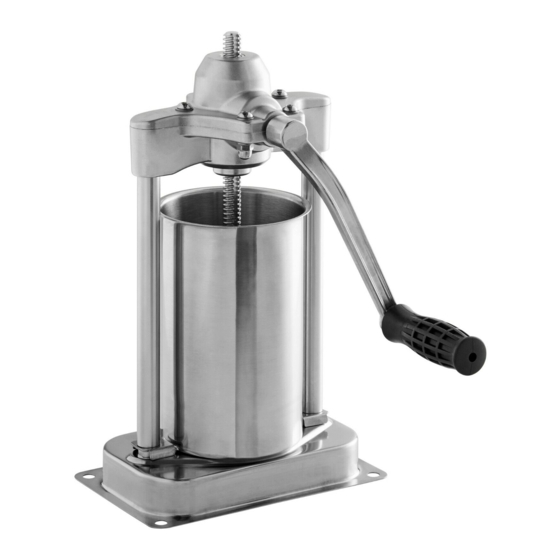
1. Your new jerky shooter comes fully assembled and ready for use. However, you need to complete
thoroughly before any use.
2. Clean the jerky shooter thoroughly before use.
3. Using your own recipe or a premix jerky seasoning, mix jerky seasoning with desired meat. Follow
the directions on seasoning mix package (Not included).
4. Depress plunger, release (3) and pull plunger all the way back.
5. Unscrew the ring lock (10A) from the barrel (17). Wet hand and form a log with your jerky mixture
and drop log into the front of the barrel.
6. Repeat loading until the barrel of the jerky shooter is filled.
7. Select a nozzle for the desired style of jerky and secure nozzle in place by screwing the ring lock
clockwise until hand tight. (Note: The flat nozzle is used for jerky. Round style is used for
snack sticks.)
8. Pull trigger to move jerky mixture to front of barrel and remove air.
9. Place drying rack on the cookie sheet. (Note: A drying rack helps to reduce drying time. Drying rack
sold separately.)
10. Pull trigger repeatedly until jerky begins to extrude.
11. Place the nozzle end of the jerky shooter near the far end of the drying rack. Pull trigger to extrude
jerky, as you extrude the jerky; pull the jerky shooter towards you until a strip of jerky has been
extruded across the full length of the drying rack.
12. Continue extruding strips of jerky until the rack is filled. Be sure to leave a small space between
each strip.
COOKING INSTRUCTIONS
Oven directions (when using dehydrator, follow manufacturers directions).
1. Pre-heat oven to 200˚F.
2. Place the cookie sheet and drying rack in pre-heated oven. Approximate drying time for one rack of
jerky is 75 minutes.
3. Remove rack from oven after 30 minutes and turn jerky over.
4. Return rack and jerky to oven for approximately another 25 minutes.
5. Check for desired dryness. If jerky is not dry enough, replace rack and jerky to oven and check
5-minute intervals until desired dryness is achieved.
6. Allow jerky to cool, then place jerky in a tightly sealed bag and refrigerate.
TROUBLE-SHOOTING
Problem(s)
Jerky shooting is difficult.
Meat is extruded out from the ring lock.
Solutions
Meat mixture has become too stiff. Add water to mix.
The ring lock is not tightly assembled.
3