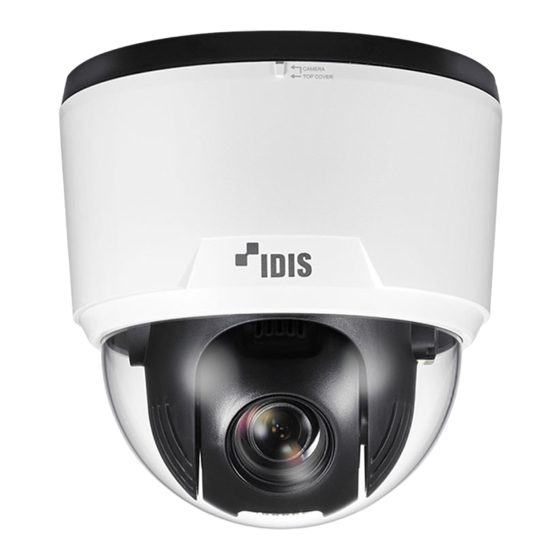
Direct IP IDIS DC-S6281HX Hızlı Kılavuz - Sayfa 6
Güvenlik Kamerası Direct IP IDIS DC-S6281HX için çevrimiçi göz atın veya pdf Hızlı Kılavuz indirin. Direct IP IDIS DC-S6281HX 12 sayfaları.

Cable
Network Port
1
Power
2
Audio In/Out
3
Alarm Out
4
➎
Alarm In
Camera Installation
Indoor
1
Screw the indoor bracket to the wall or ceiling by
using the wall/ceiling mounting screws provided with
the camera.
2
Make a cable hole in the wall or ceiling.
6
3
Hook the safety wire of the bracket on the safety wire
ring of the camera body.
4
Connect external devices, the network cable, and the
1
power adapter.
2
5
Connect the camera body to the indoor bracket. Fix
3
the install screws of the camera body up to the install
screw holes of the bracket and then turn the camera
4
body by 25° in the clockwise direction.
5
6
Secure the camera body on to the bracket by
tightening the M4 screw provided with the camera to
the M4 screw hole of the bracket.
7
Supply the power.
Outdoor
The outdoor bracket and sun shield are purchased
separately. Ask your dealer or distributor about
purchasing it.
In case that a universal nut is attached to a pipe
Connect the sun shield and outdoor bracket first, then
connect it to the pipe as follows:
1
Remove the install screw from the camera body.
Quick Guide
