Xerox C123 Copycentre Ağ Kılavuzu - Sayfa 5

Fotokopi Makinesi Xerox C123 Copycentre için çevrimiçi göz atın veya pdf Ağ Kılavuzu indirin. Xerox C123 Copycentre 50 sayfaları. All in one printer
Ayrıca Xerox C123 Copycentre için: Kurulum Kılavuzu (2 sayfalar), Değerlendirici El Kitabı (12 sayfalar), Broşür ve Teknik Özellikler (6 sayfalar), Kurulum Kılavuzu (2 sayfalar), Tarama Kılavuzu (28 sayfalar), Hızlı Kurulum Kartı (2 sayfalar), Manuel (28 sayfalar), Ofis Son İşlemcisi Kurulum Kılavuzu (6 sayfalar), Ofis Son İşlemcisi Kurulum Kılavuzu (6 sayfalar), Donanım Kurulum Kılavuzu (4 sayfalar), Yüksek Kapasiteli Tepsi Kurulum Kılavuzu (3 sayfalar), Yüksek Kapasiteli Tepsi Kurulum Kılavuzu (3 sayfalar), Sabit Sürücü Kiti Kurulum Kılavuzu (2 sayfalar), İnvertör Kurulum Kılavuzu (2 sayfalar), Kurulum Kılavuzu (2 sayfalar), Donanım Kurulum Kılavuzu (2 sayfalar), Stand Kurulum Kılavuzu (2 sayfalar), Broşür ve Teknik Özellikler (4 sayfalar), Servis Kılavuzu (22 sayfalar)
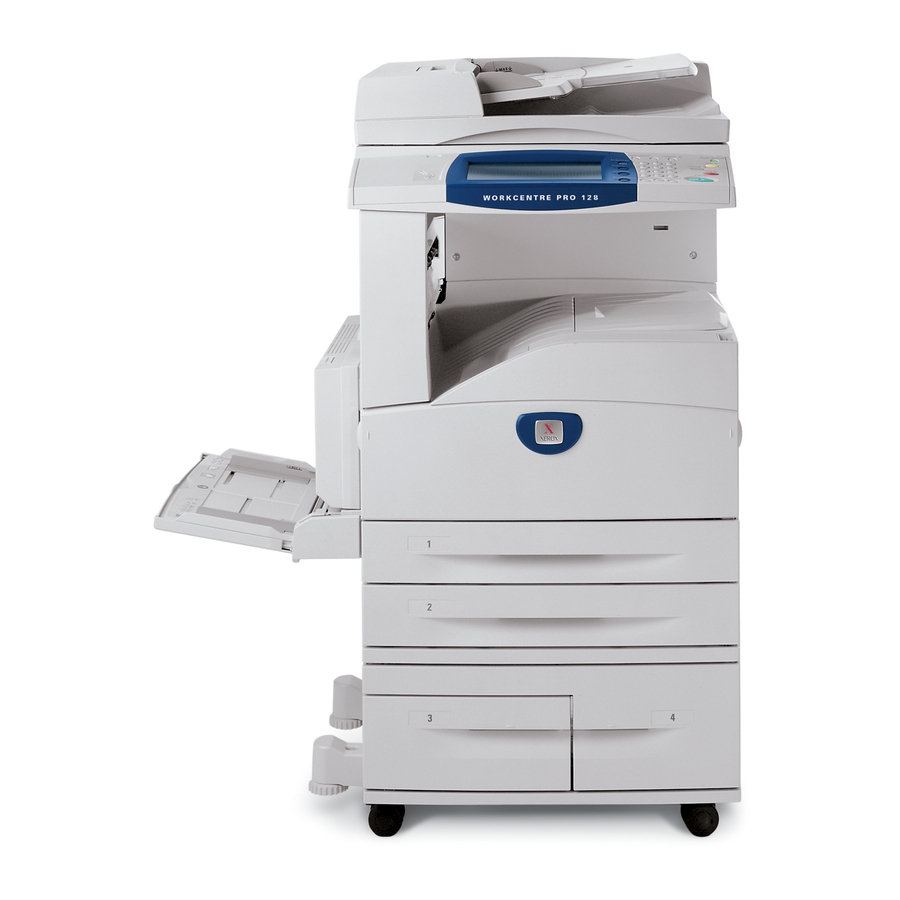
Xerox C123 Copycentre Ağ Kılavuzu
Quick Network Setup (Static IP)
Prerequisites for Manual Setup of Network Using Static IP Address
Note
On startup, the WorkCentre multifunction device defaults to DHCP to obtain its network configurations,
so DHCP must be turned off by manually entering a static IP address.
Before installing, record the following information for use during setup:
TCP/IP Address:
Gateway Address:
Subnet Mask:
DNS Server Address:
Note
To obtain this information, contact your System Administrator.
Procedure for Manual Setup of Network Using Static IP Address
1.
Power on the device.
2.
Select Login/Logout, and then enter the UserID 11111.
3.
System
Settings.
Select
4.
System
Settings.
Select
5.
Network
Settings.
Select
6.
Protocol
Settings.
Select
a.
Select
IP
Address, and then press
b.
Enter the IP address of the device. If there is an incorrect IP address in the field, press the Clear button
once to delete the incorrect IP address.
For example:
To enter in the IP address of 10.224.40.57, type 10, and then press the Next button. Type 222. There is no
need to press the Next button because the cursor automatically moves to the next field of the IP address.
Type 40, and then press the Next button. Type 57, and then press the Exit button.
7.
Enter the Default Gateway, Subnet Mask.
Change
Settings.
Xerox WorkCentre M123/M128/133
Xerox WorkCentre Pro 123/128/133
3
Quick Network Setup (Static IP)