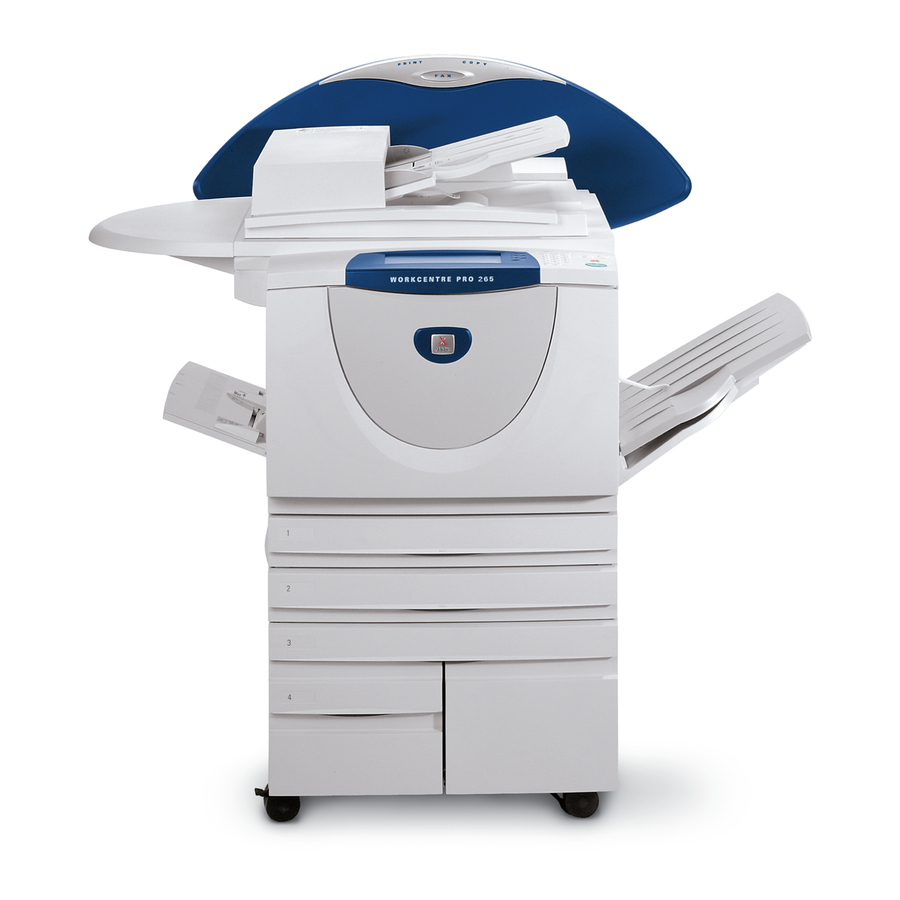
Xerox WorkCentre Pro 90 Ağ Kurulum Kılavuzu - Sayfa 5
Fotokopi Makinesi Xerox WorkCentre Pro 90 için çevrimiçi göz atın veya pdf Ağ Kurulum Kılavuzu indirin. Xerox WorkCentre Pro 90 42 sayfaları. Pdl reference guide
Ayrıca Xerox WorkCentre Pro 90 için: Hızlı Başlangıç Kılavuzu (16 sayfalar), Uyumluluk Kılavuzu (36 sayfalar), Kullanıcı Kılavuzu (24 sayfalar), Sistem Yönetimi Kılavuzu (30 sayfalar), Referans Kılavuzu (22 sayfalar)

Enable Scanning and E-mail Options
If you only received Basic Network Scanning plus E-mail, follow the instructions in step 1.
If you also received CentreWare Network Scanning (Standard or Deluxe), follow the instructions in steps 1 and 2.
When these options are enabled, you can convert paper documents into digital images. The scanned images can
be sent directly to network repositories or attached to an e-mail message sent directly from the printer. The printer
offers a range of walk-up e-mail features. You can search and select addresses using an existing company network
e-mail address book or an address list downloaded to the machine. Or type an e-mail address using the standard
keyboard provided on the touch screen. You can also activate Authentication (security) which requires users to
complete a valid network or optional guest login sequence before accessing optional features such as e-mail,
scanning and fax.
Enable E-mail, Authentication and Basic Network Scanning
1.
•
To enable and configure servers for the E-mail and Authentication features, follow the instructions on
the E-mail page included in this document.
•
To enable Basic Network Scanning, use the printers Internet Services (embedded web server). Consult
the System Administration Guide (pdf file) located on the Customer Documentation CD, in the Cus-
tomer Information Pack for a more in-depth explanation.
2.
Enable CentreWare Network Scanning
•
Locate the CentreWare Network Scanning Services Pack. Refer to the Getting Started With Network
Scanning Services Guide and the System Administration Guide for help to install, configure, and use
the scanning features.
•
To install Scan to PC Desktop (Standard or Deluxe) or other Image Management applications, follow
the installation instructions included with your Image Management application.
•
If using CentreWare software, you can also configure your printer to scan to e-mail destinations via a
CentreWare Network Scanning Services distribution server or Microsoft Exchange Public Folders. You
can also create a scanning template repository for use by multiple printers rather than recreate them for
each machine. Locate the CentreWare Network Scanning Services Pack to obtain the software and
installation instructions for these options. Refer to the Getting Started with Network Scanning Services
Guide.
5
604P14400
