Xerox WorkCentre M118 Hızlı Kurulum Kılavuzu - Sayfa 4

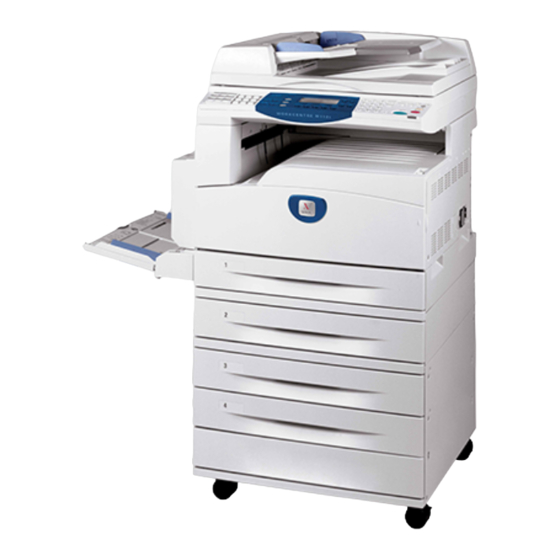
Yazıcı Aksesuarları Xerox WorkCentre M118 için çevrimiçi göz atın veya pdf Hızlı Kurulum Kılavuzu indirin. Xerox WorkCentre M118 5 sayfaları. Drum cartridge remanufacturing
Ayrıca Xerox WorkCentre M118 için: Kullanıcı Kılavuzu (2 sayfalar), Modül Kılavuzu (2 sayfalar), Hızlı Kurulum Kartı (2 sayfalar), Yazılım Kılavuzu (47 sayfalar), Hızlı Kurulum Kılavuzu (5 sayfalar), Manuel (28 sayfalar), Stand Kurulum Kılavuzu (4 sayfalar), Kurulum Kılavuzu (2 sayfalar), Kurulum Kılavuzu (2 sayfalar), Kurulum Kılavuzu (2 sayfalar), Kurulum Kılavuzu (2 sayfalar), Kurulum Kılavuzu (2 sayfalar), Kurulum Kılavuzu (1 sayfalar), Kurulum Kılavuzu (1 sayfalar), Başlangıç Kılavuzu (25 sayfalar), Değerlendirici El Kitabı (12 sayfalar), Servis Kılavuzu (12 sayfalar), Yeniden Üretim Talimatları (14 sayfalar)

Xerox WorkCentre M118 Hızlı Kurulum Kılavuzu
Enable the E-mail Ports
1.
Click the Properties tab.
2.
Select Port Status on the left sidebar.
a.
Enable the SNMP, Send E-mail, and Mail Notice Service ports. Do not modify the other port settings
on this page.
b.
Click the Apply New Settings button at the bottom of the page.
c.
At the reboot prompt, click the Reboot button.
3.
Wait one minute for the reboot to complete, and then click the browser Refresh button.
Enter the SMTP Settings
1.
Click the Properties tab.
2.
Select the Protocol Settings folder on the left sidebar, and then select E-mail.
a.
Enter the SMTP Server Address.
b.
If SMTP authentication is required, enter the POP3 Server Address, POP User Name, and
POP Password.
Note
The POP3 Server Address can be entered as an IP address or a server name.
c.
If the machine uses a host name rather than an IP address, click TCP/IP in the left side bar, and verify
that the DNS Address 1 field contains the DNS Server Address. For more information, see the
Network Connection Quick Setup Guide.
d.
Click the Apply New Settings button at the bottom of the page.
e.
At the reboot prompt, click the Reboot button.
3.
Wait one minute for the reboot to complete, and then click the browser Refresh button.
Create an Address Book Entry to Use for Verifying Scan to E-mail Setup
1.
Click the Properties tab.
2.
Select Address Book on the left sidebar.
a.
Type a Speed Dial number from 1–200 to assign to the test recipient, and then click the Edit button.
b.
Select E-mail from the Address Type drop-down list.
c.
Enter the recipient's local E-mail address in the Recipient Address field.
d.
Enter the Recipient Name.
e.
Click the Apply New Settings button.
Xerox WorkCentre M118i
4
Configuring Scan to E-mail