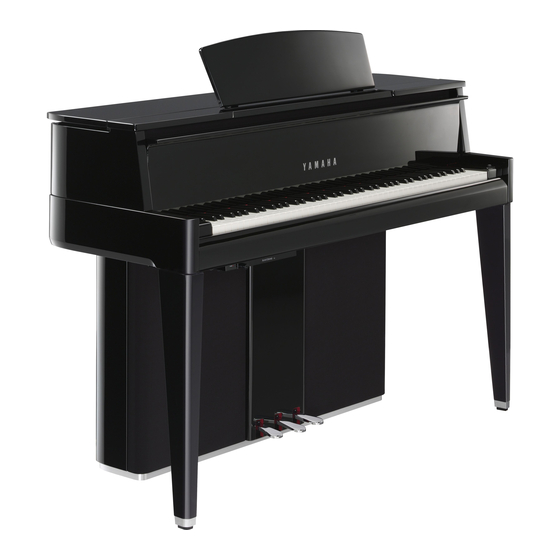
Yamaha AvantGard N2 Bakım El Kitabı - Sayfa 10
Müzik Enstrümanı Yamaha AvantGard N2 için çevrimiçi göz atın veya pdf Bakım El Kitabı indirin. Yamaha AvantGard N2 45 sayfaları. Hybrid piano

N1, NU1
N1 AND NU1 KEY SHUTTER INSTALLATION PROCEDURE
Installation with a staple gun (shown below) is needed only for keyboard replacement of N1. The gray scale shutter can
individually be replaced, in the same way as N3 and N2, for the key shutter replacement.
Be sure to perform related keyboard and action adjustments and key sensor measurement, in addition to shutter installation,
when you repair or replace the keyboard.
1.
Remove the key and both adjacent keys from the piano. (Photo 1) When exchanging the highest note key or the lowest note key of
the keyboard, the key and the two closest keys are also removed.
2.
Take the replacement keys in hand, turn them over, and align the front and back position of the key on the 3 keys by way of the
key grooves. (Photo 2)
3.
Peel the film from the key shutter part. (Photo 3) Pay attention to prevent dirt and damage to the key shutter.
4.
Put the key shutter onto the key. The key shutter should be placed at even intervals between each of the 3 key shutters. (Photo 4)
5.
Use the staple gun to lock the key shutter in place. (Photo 5) Check that the staples are securely mated to the key shutter.
6.
Reinstall the key onto the piano.
7.
After replacing the keys, repeatedly tap and release each key several times, and check that the key shutter does not bind on the key
sensor bracket.
8.
Execute the maintenance program 'Key Measurement'. Make sure to inspect that the key works properly using the key sensor test
mode.
Photo 3 (N1)
Photo 3 (NU1)
View of using the staple gun
STAPLE GUN : TP-M (TX500250: Piano Service Parts)
STAPLE
: MAX8080FC 8x8mm (TX500330: Piano Service Parts)
10
Photo 1 (N1)
Photo 4 (N1)
Film
Photo 4 (NU1)
Film
Place at even intervals.
Photo 1 (NU1)
Place at even intervals.
STAPLE(Stainless)
8mm or 10mm
Gray scale block
Photo 5 (N1)
STAPLE(Stainless)
8mm or 10mm
Key Shutter
Photo 5 (NU1)
Photo 2
