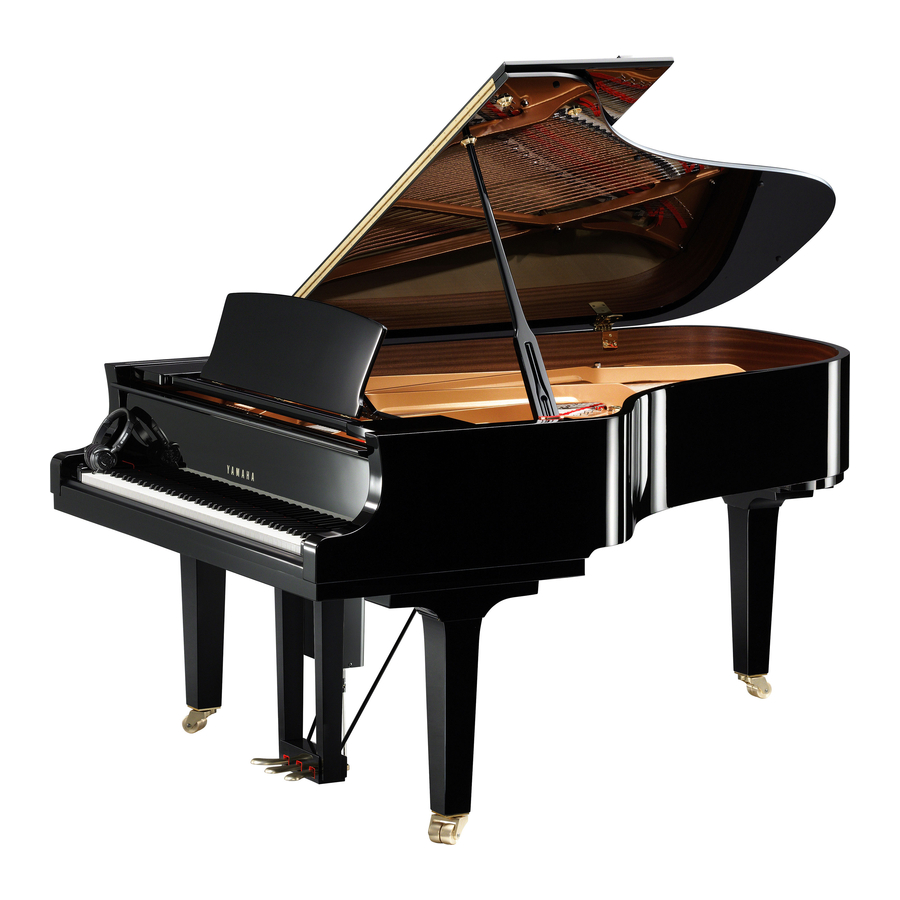
Yamaha disklavier IV / Pro Series Bakım El Kitabı - Sayfa 34
Müzik Enstrümanı Yamaha disklavier IV / Pro Series için çevrimiçi göz atın veya pdf Bakım El Kitabı indirin. Yamaha disklavier IV / Pro Series 36 sayfaları.

14. Service Center program map
Service Center - Version 1.01 Menu Index
Service Center/
1: Post Delivery Check
<Test playback>
A: Key scaling
B: Right Pedal Moving
C: Left Pedal Moving
D: Sound, Right Ch.
E: Sound, Left Ch.
<Needs headphones for Pro>
F: Sound, L&R Ch.
G: Melody
<Needs headphones for Pro>
2: Program Versions
<DIO, CSP>
3: Pedal Calibration < 1 min. >
4: Piano Odometer
To enter Maintenance Mode from the Service Center,
button pushing is TIME-SENSITIVE. In sequence,
press and hold, [D], [M] and [P] within a 1 second time frame.
(All three keys pressed within 1 second.)
Maintenance Mode/
1: Check All Connection.
2: Disklavier Piano System/
1: Piano Information/
1: Program Versions - Piano.
2: Model Info.
< KD type, HS type, PD type >
3: Key Drive Info.
4: Pedal Info.
<Power supply, temp. >
5: Piano Odometer - Detail.
6: Piano Type Setting(Pedal)/
1: GC1(base damper).
2: GC1(sostenute)A1/C1-C3/S4.
3: C5.
4: C6/C7/S6.
5: CFIIIS.
<Pedal type setting>
7: Clear Odometer/
1: Clear all except for total time.
2: Clear all.
3: Clear time only.
2: Piano Calibration - Standard/
1: Sensor Calibration.
2: Pedal Calibration.
3: Key Drive Calibration-Std.
4: Pedal-HP Adjustment.
3: Piano Calibration - Full/
1: Cals on serial w/ GS check.
2: Cals on serial w/o GS check.
3: Sensor Calibration w/ GS check.
4: Pedal Calibration.
5: Key Drive Calibration.
6: Pedal-HP Adjustment.
4: Piano Calibration - Extra/
1: Sensor -Extra/
1: Sensor Auto
2: Sensor Manual
2: Key Drive -Extra (All Keys)/
1: Key Drive MM.
2: Key Drive ON,OFF,ACC,ON-P.
3: Key Drive ON.
4: Key Drive OFF.
5: Key Drive ACC.
6: Key Drive ON-P.
3: key Drive -Extra (One Key)/
1: 1 Key Drive MM.
2: 1 Key Drive ON,OFF,ACC,ON-P.
3: 1 Key Drive ON.
4: 1 Key Drive OFF.
5: 1 Key Drive ACC.
6: 1 Key Drive ON-P.
4: Key Drive -ppp Adjustment.
Page 12.
<Needs headphones for Pro>
<Needs headphones for Pro>
<Power supply, temp. >
Page 21.
<4' 40" HS model>
< 1 mim. >
<6'45" MkIV HS>
< Extra adjustment >
Page 21.
< 17 min.>
<5'30">
< 1 mim. >
<8'30" MkIV, 10'45" Pro>
< Extra adjustment >
(Overrides Errors).<4'30">
(Overrides Errors).
MHB23 MKIV/PRO DIOV1.05, SCV.1.01 PAGE.32
5: Piano Tests/
1: Sensor Depth Test (BarGraph).
2: Pedal Depth Test (BarGraph).
3: Check Key Sensor Connection.
4: Check Hmr Sensor Connection.
5: Check Brightness from AD.
6: Current AD of the Sensor/
1: Key AD.
2: Hmr AD.
7: Check Calibration Data/
1: Check Key Sensor Cal Data.
2: Check Hmr Sensor Cal Data.
3: Check Hmr Sensor AD offset Data.
4: Check Key Drive Cal Data.
8: Sensor Test - Extra/
1: Check Sensor AD Volatility.
2: Check Sensor Hmr GS Linearity/
1: Excute Test.
2: Results.
3: Results -Graph.
3: Check Sensor Optical Step.
4: Rest Value Validity Check.
5: CSP-HS Data Direction check.
6: Sensor Test - Other Extra/
1: Optical Matrix.
2: Optical Step Adj - Auto/
1: High S/N.
2: Long Shelf Life.
3: Reflesh All the Rest.
4: Sensor Draw Key Motion.
6: Piano Test Play/
1: Key Scaling.
2: Loud(Right) Pedal Hold.
3: Soft(Left) Pedal Hold.
7: CSP Update/
1: Set the update media. Ready?.
8: CSP Parameter Backup/Restore/
1: Backup CSP Param.- Execute.
2: Restore CSP Param.- Execute.
3: Copy CSP Param. fromHD toFD.
4: Copy CSP Param. fromFD toHD.
3: <Database>/
1: Song Library/
<Playback test w/o back to user mode
1: Test (Closed Area).
2: PianoSoft.
3: User.
4: Audio.
5: FD.
6: CD.
7: USB.
2: Edit Test Album/
1: Copy from FD to HD/
1: Are you sure? Yes.
2: No, exit.
2: Copy from CD to HD/
1: Are you sure? Yes.
2: No, exit.
3: Rename Test Album.
4: Remove Test Album.
