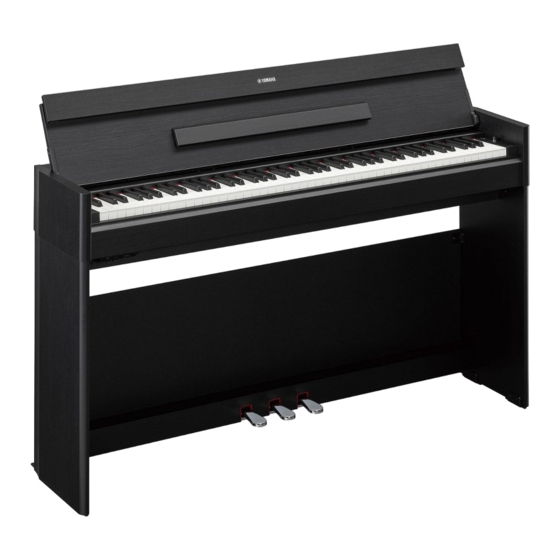
Yamaha ARIUS YDP-145 Kullanıcı El Kitabı - Sayfa 35
Elektronik Klavye Yamaha ARIUS YDP-145 için çevrimiçi göz atın veya pdf Kullanıcı El Kitabı indirin. Yamaha ARIUS YDP-145 48 sayfaları.
Ayrıca Yamaha ARIUS YDP-145 için: Hızlı Kullanım Kılavuzu (2 sayfalar), Midi Referansı (4 sayfalar)

2-4
Securely tighten the screws on the top of the
back board that were attached in step 2-2.
Side board (R)
1
2 - 1
3.
Secure the pedal box.
3-1
Securely tighten the screws on the pedal
box that were attached in step 1.
3-2
Attach the caps to the screw heads.
Side board (L)
Back board
Pedal box
3 - 1
2 - 2, 2 - 4
× 2
Thin screws
(4 × 12 mm)
Side board (L)
Back
board
2
2
1
× 4
2 - 3
Tapping screws (4 × 20 mm)
3 - 2
Caps
× 4
Side board (R)
4.
Set the main unit in place.
4-1
Be sure to hold the bottom surface at least
10 cm inside from the edge of the main unit
so that you do not pinch your hands.
4-2
Place the main unit on the side boards so
that the front of the main unit and the side
boards are aligned. Slide the main unit
forward and insert the metal fittings on the
bottom of the main unit into the metal
fittings on the side boards.
CAUTION
• Be careful not to pinch your hands or drop the main
unit.
• Do not hold anywhere other than the specified
position.
Main unit
At least
10 cm
Side board (R)
At least
10 cm
Back board
5.
Secure the main unit by tightening
the thick screws (6 × 16 mm).
Main unit
Side board (L)
YDP-165, YDP-145, YDP-S55, YDP-S35 Owner's Manual
Keyboard Stand Assembly
Side board (L)
Side board (R)
× 4
Thick screws
(6 × 16 mm)
35
