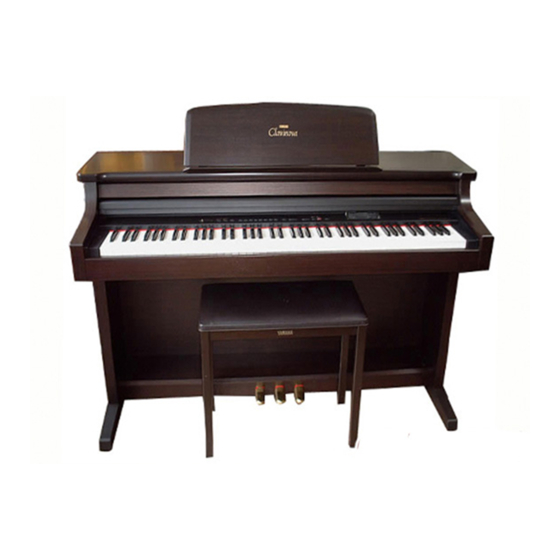
Yamaha Clavinova CLP-156 Kullanıcı El Kitabı - Sayfa 26
Elektronik Klavye Yamaha Clavinova CLP-156 için çevrimiçi göz atın veya pdf Kullanıcı El Kitabı indirin. Yamaha Clavinova CLP-156 45 sayfaları. Yamaha clp-156: owners manual

Utility Functions
Copying to a Different Disk
d 1
Insert source disk.
d 2
Insert destination disk.
You can delete any Recorder song data (not including any existing individual key tuning data) from a loaded disk as follows:
Z
Insert a Disk & Select the
Delete Function
X
Select the Song Delete
Function
dEL
MIDI/
TRANSPOSE
r
C
Select the Song to Delete
d 3
TEMPO
V
Confirm & Execute the
Delete Operation
n Y
TEMPO
PLAY
Deleting a Single Track
26
If you chose to copy to a different disk, you may have to exchange the
source and destination disks a few times if the song being copied is long and
complex. In this case, the Clavinova will prompt you to insert the source and
destination disks with the displays shown to the left. While the data is being
copied the number of times the disks will have to be exchanged to complete the
copy operation will be shown on the display. When it is no longer necessary to
change disks "cPy" will appear on the display.
The destination song number will appear when the copy operation has finished.
NOTE
Utility 6: Song Delete
Insert the disk containing the song you want to delete.
Hold the [MIDI/TRANSPOSE] button and press the SONG [r] or [f]
button as many times as necessary until "dEL" appears on the display — then
release the [MIDI/TRANSPOSE] button when "d" and the currently selected
song number appears on the display.
SONG
f
Use the TEMPO [ ] and [ ] buttons to select the song number you wish to
delete.
NOTE
Press the [PLAY] button — "n y" will flash on the display. Use the TEMPO
[ ] (YES) and [ ] (NO) buttons to select either (YES) or (NO). (YES) to
immediately delete the selected song, or (NO) if you wish to cancel the opera-
tion. If the selected song contains no data the "n y" prompt will not appear and
the Song Delete mode will be automatically exited.
The song number will appear on the display when the delete operation has
been successfully completed.
NOTE
To delete just one track of a song:
Z
Insert the disk and select the song number containing the track you want to
delete.
X
Set the track you want to delete to the record ready mode.
C
Press the [PLAY] button twice without recording anything in between.
• Data cannot be copied from Disklavier PianoSoft disks (including the sup-
plied disk) or Standard MIDI File disks. Data cannot be copied to Disklavier
PianoSoft disks (including the supplied disk) or any write protected disk.
• You can cancel the delete function before actually starting the delete opera-
tion (next step) by pressing either the SONG [ r ] or [ f ] button.
• Data cannot be deleted from any write protected disk, the supplied PianoSoft
Disk or optional Disklavier PianoSoft disks.
