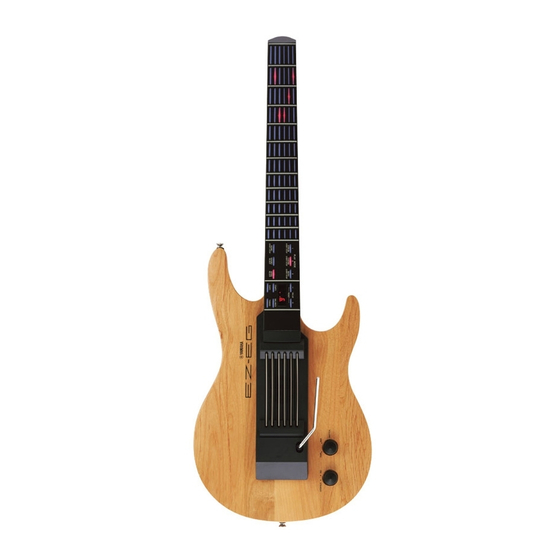
Yamaha EZ-EG Servis Kılavuzu - Sayfa 17
Elektronik Klavye Yamaha EZ-EG için çevrimiçi göz atın veya pdf Servis Kılavuzu indirin. Yamaha EZ-EG 34 sayfaları. Song chord chart
Ayrıca Yamaha EZ-EG için: Kullanıcı El Kitabı (2 sayfalar), Kısa Kılavuz (2 sayfalar), Tamamlayıcı Kılavuz (3 sayfalar)

TEST
7-seg. LED for Each Test
No.
20
21
25
30
33
36
37
41
42
43
45
48
* NOTE: Time is required to complete the checks performed by test No. 41–45.
Check the switches and the LEDs on the panel.
Turn on the switches as shown on the LEDs in the sequence indicated in TABLE 1 (P.18).
or
A sound is generated while the fret switch is on. (Without key stick)
Press the [DEMO] switch to interrupt operation.
Check that all the LEDs on the panel light up.
Make sure that all LEDs on the panel (there are 12 button LEDs and 7-seg. LED) light up and that
there are no major differences in their brightness.
Check that all the fret LEDs light up.
Make sure that the 12 LEDs (12 notes: octave) for the frets for each string from the 1st to the 6th light
up and that there are no major differences in their brightness. Press [E5] (1st string, 12th fret) and then
move to the next string.
All the fret LEDs will go out.
Check that the all the fret LEDs go out when the [DEMO] switch is pressed.
String check 1.
Play the strings in sequence from the 1st string (the string from the row that lights up the 11th fret
LED). Check that the level it was played is the maximum (the 1st fret for the string played lights up)
and that the LED for 11th fret for the next row (2nd string) lights up. Then move to checking the 2nd
string. (Then play the 3rd, 4th, 5th and 6th strings.)
String check 2. (Bar graph display from the fret LEDs.)
Strum the strings several times (play the 1st through the 6th strings with one motion). Check that the
peak value for each string played is displayed by LEDs. (The position of the LEDs lighting up will
become more forcefully play as the strings approach the 1st fret.) Note that the if a string is not played
for more than 0.8 seconds, the peak value is reset.
Check that the position of the fret LEDs that light up for each string are grouped within three segments
of each other when the 1st through 6th strings are strummed at approximately the same force.
* Checks 1 and 2 are performed simultaneously.
Tremolo check.
Attach the vibrato arm to the main body and then connect the MIDI cable to the MIDI IN and OUT
jacks. Once the test has started, "
or
arm and a C3 sound will be generated and the LED display will change to "
arm is pulled and the inspection is OK, a C4 sound is generated and the LED display will change
from "
" to "
Mute check.
While touching the ground plate with the left hand, gently touch the 1st through the 6th strings with
the right hand (also test collectively by touching them simultaneously).
Check that the 12 fret LEDs for the row corresponding to the strings touched come on.
Check the MIDI.
After connecting the [MIDI IN] jack and [MIDI OUT] jack with a MIDI cable, execute the test. Check
or
that the C4 note is output.
Check the ROMs.
or
Checks all the ROMs that are connected to the CPU bus. It takes about 3 seconds.
Check the RAMs.
or
Checks all the RAMs that are connected to the CPU bus. It takes about 3 seconds.
Check the WAVE ROMs.
or
Checks the WAVE ROMs that are connected to the CPU bus. It takes about 15 seconds.
Check the FLASH ROMs.
or
Checks the FLASH ROMs that are connected to the CPU bus. It takes about a minute.
End the test mode.
Exit from the test program when executing this test.
Test Function and Judgment criteria
" will be displayed in the 7-seg. LED. Press the vibrato
".
EZ-EG
". If the vibrato
17
