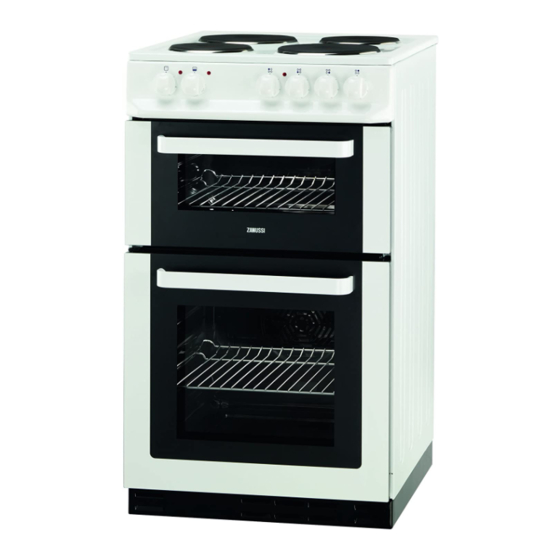
Zanussi ZCE560 Kullanıcı Kılavuzu - Sayfa 6
Ocaklar Zanussi ZCE560 için çevrimiçi göz atın veya pdf Kullanıcı Kılavuzu indirin. Zanussi ZCE560 28 sayfaları. Product manaul
Ayrıca Zanussi ZCE560 için: Manuel (28 sayfalar)

- 1. Table of Contents
- 1. Table of Contents
- 2. Cleaning and Maintenance
- 2. Cleaning and Maintenance
- 3. Description of the Appliance
- 3. Description of the Appliance
- 4. The Electronic Timer (Zcv563Dw/Dn/DX)
- 4. The Electronic Timer (Zcv563Dw/Dn/DX)
- 5. The Main Oven
- 5. The Main Oven
- 6. What to Do if
- 6. What to Do if
- 7. Installation
- 7. Installation
- 8. Technical Data
- 8. Technical Data
• To prevent discolouration, regularly wipe away
condensation and foodstuff from surfaces.
• For your safety wall coverings at the rear of the
appliance should be securely fixed to the wall.
Cookware
Grill and oven furniture
• The following items of grill and oven furniture have
been supplied with the appliance. If you require
replacements of any of the items listed below
please contact your local service force centre.
The electronic timer (ZCV563DW/DN/DX)
The following items of grill and oven furniture have
been supplied with the appliance. If you require
replacements of any of the items listed below please
contact your local service force centre.
To set the time of day
2
1
5
4
3
1
This symbol is displayed when the Cooking Period
function is set (see apropriate chapter)
2
This symbol is displayed when the Cooking Period
function is set (see apropriate chapter)
3
Time increase button
4
Mode button
5
Time decrease button
6
1 grill pan
• Baking trays, dishes etc., should not be placed
directly against the grid covering the fan at the back
of the oven.
• Do not use baking trays larger than 30cm x 35cm
(12" x 14") as they will restrict the circulation of heat
and may affect performance.
1 grill pan grid
1 straight shelf
(For grilling and top oven
cooking)
and
2 straight shelves
(For main oven cooking)
"A" Symbol and "0:00" will
flash after the cooker is
connected to electricity.
Press (+) and (-) keys at
the same time.
Press the increase buttons
until the correct time is
showing.
If necessary press the
decrease button to help set
the correct time.
