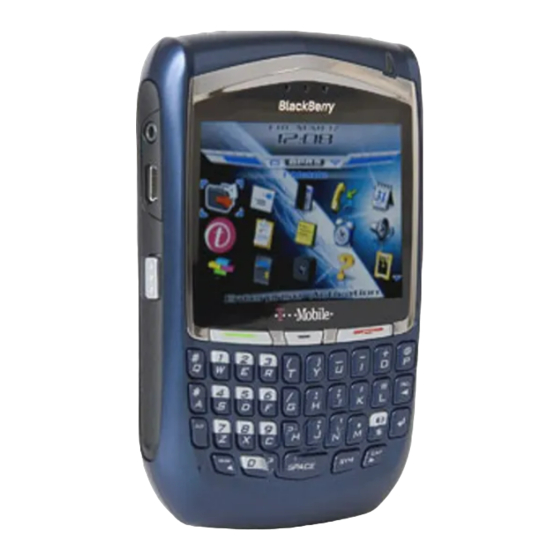
Blackberry 8700G - GETTING STARTED GUIDE & 5-CLICK INTERNET SERVICE Başlangıç Kılavuzu - Sayfa 10
El bilgisayarları Blackberry 8700G - GETTING STARTED GUIDE & 5-CLICK INTERNET SERVICE için çevrimiçi göz atın veya pdf Başlangıç Kılavuzu indirin. Blackberry 8700G - GETTING STARTED GUIDE & 5-CLICK INTERNET SERVICE 28 sayfaları. Wireless handheld

4.
Replace the battery cover.
5.
If the battery is charged, your device turns on
and the confirm date and time dialog box
appears.
If the date and time are incorrect, click
•
Edit. See "Set the date and time" on
page 16 for more information.
If the date and time are correct, click OK.
•
Charge the battery
1.
Connect the small end of the USB cable to
your device.
2.
If required, slide the plug blade attachment
into the power adapter.
3.
Plug the power adapter into a power outlet.
4.
Charge the battery to full power.
6
PUSH
Note: If you install the BlackBerry Desktop
Software, you can charge your device by
connecting it to your computer. See "Can I charge
my device by connecting it to my computer?" on
page 19 for more information.
Connect to the wireless network
On the device, if the power is off, press the Power
button. Your device should connect to the wireless
network automatically.
To connect to the wireless network successfully,
your wireless service must be active, and you must
be in a wireless network coverage area. See the
wireless network coverage chart on the inside
front cover of this guide for more information.
When your device is not connected to the wireless
network, you can continue to use features that do
not require a connection to the wireless network.
For example, you can type and save draft email
messages, manage tasks, or use the calculator.
Note: If you use BlackBerry Internet Service, the
account setup process might begin automatically
the first time that your device connects to the
wireless network. See "Setting up for email using
BlackBerry Internet Service" on page 9 for more
information.
