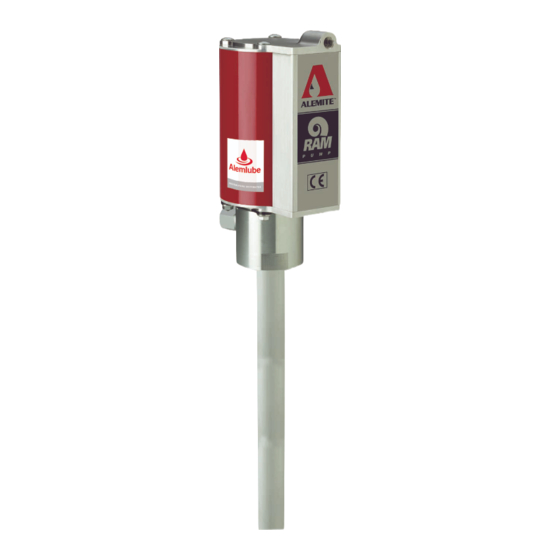
Alemite 9911-R1 Servis Kılavuzu - Sayfa 11
Su Pompası Alemite 9911-R1 için çevrimiçi göz atın veya pdf Servis Kılavuzu indirin. Alemite 9911-R1 12 sayfaları. High-pressure stripped pump
Ayrıca Alemite 9911-R1 için: Servis Kılavuzu (12 sayfalar), Sahipleri Servis Kılavuzu (16 sayfalar)

High-Pressure Stripped Pump
Bench Test and Operation
1. Slowly supply air pressure [not to exceed 35 psi
(2.4 Bars)] to the pump's motor.
• The pump assembly should cycle.
If the pump assembly does not cycle, refer to the
Troubleshooting Chart for details.
With air pressure at zero:
2. Connect a product hose to the pump's material outlet.
• Direct the hose into an appropriate collection
container.
3. Place the pump in grease.
4. Slowly supply air pressure to the pump's motor.
5. Allow the pump to cycle slowly until the grease is free
of air.
If the pump assembly does not prime, refer to the
Troubleshooting Chart for details.
Alemite Corporation
WARNING
Should leakage occur anywhere within the
system, disconnect air to the motor. Personal
injury can occur.
With air pressure at zero:
6. Attach a control valve to the outlet hose of the pump.
• Make sure the nozzle on the control valve is open.
7. Slowly supply air pressure to the pump's motor.
8. Allow the pump to cycle slowly until the grease is
once again free of air.
9. Set the air pressure to the normal operating pressure.
10. Operate the control valve into a container.
11. Shut off the control valve.
• Visually inspect the pump for external leaks.
• The pump should not cycle more than once or twice
in one hour.
If the pump does not stall, refer to the
Troubleshooting Chart for details.
12. Check the motor for air leakage.
If the motor leaks, refer to the Air Motor Service
Guide for details.
Installation
Additional items that should be incorporated into the
air piping systems are listed in Table 5.
Part Number
5604-2
Moisture Separator
7604-B
Regulator and Gauge
Table 5 Air Line Components
11
SER 9911-1
Description
Revision (4-02)
