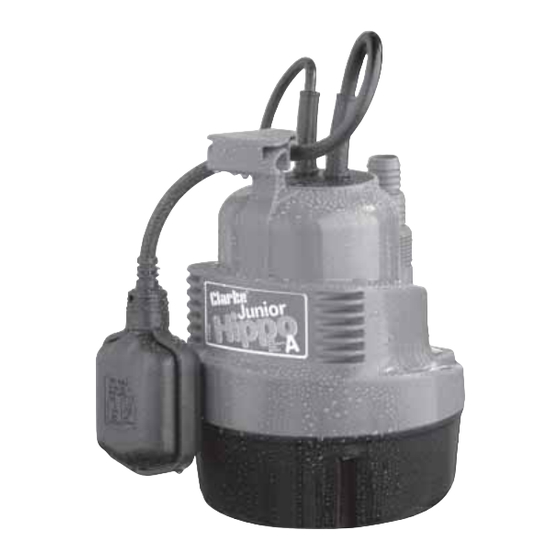
Clarke HIPPO Jr Kullanım ve Bakım Talimatları - Sayfa 4
Su Pompası Clarke HIPPO Jr için çevrimiçi göz atın veya pdf Kullanım ve Bakım Talimatları indirin. Clarke HIPPO Jr 6 sayfaları.

FEATURES
The pump is of rugged and durable construction, and the motor is provided with
a built in overload protector.
The chart on page 7 illustrates the flow rate at various heads. (HEAD is the distance,
or height, from the surface of the water to the highest point of discharge)
All models are designed for pumping CLEAN WATER ONLY and will pump down to
a water level of 5mm.
As the water level rises, the switch will float, and start the pump. As the water level
falls, so will the float switch, until it stops the pump.
The Float switch is factory set to provide the correct ON-OFF switching mode,
however, you can adjust the level at which the pump cuts out by sliding the float
switch cable, in the clip formed in the handle, to either shorten or lengthen it as
the case may be. The shorter it is, the earlier it will cut out and therefore, the
deeper will be the water at this point.
Note that this pump is fitted with automatic thermal overload protection. If the
pump overheats due to an obstruction in the pump, or pumping warm water for
example, it will shut off automatically. Switch the pump OFF and disconnect from
the mains supply. Check for blockages and allow the motor to cool (20 minutes)
before attempting to re-start.
INSTALLATION
The water outlet is provided with a multi hose connector capable of accepting
1" BSP screw adapter (not supplied), or 19mm (¾" dia.) or 25mm (1"dia.) hose.
If you wish to use the 1" BSP screw fitting, you need to cut off the hose fittings, (at
the groove provided below the 25mm hose fitting),otherwise, simply attach a ¾"
or 1" hose to the respective connector with a worm drive clip.
If the pump is to be used in situations that demand maximum efficiency, we strongly
recommend that you use a 1" dia. hose, either directly, on to the adapter supplied,
or attached to a 1" BSP screw adapter (not supplied).
The pump should be placed in a vertical position, on a solid
flat surface. If this is not available, sit the pump a solid surface,
eg. house bricks, but ensure they are not likely to shift.
IMPORTANT:
ALWAYS raise and lower the pump using a rope attached to
the lifting handle, NEVER by the power cable.
Ensure the pump is placed in a sump with adequate
dimensions so as not to restrict the movement of the float
switch - recommended minimum dimension - 40 x 40cm
Take all necessary precautions as described on page 3 before plugging in, and
switching ON.
5
