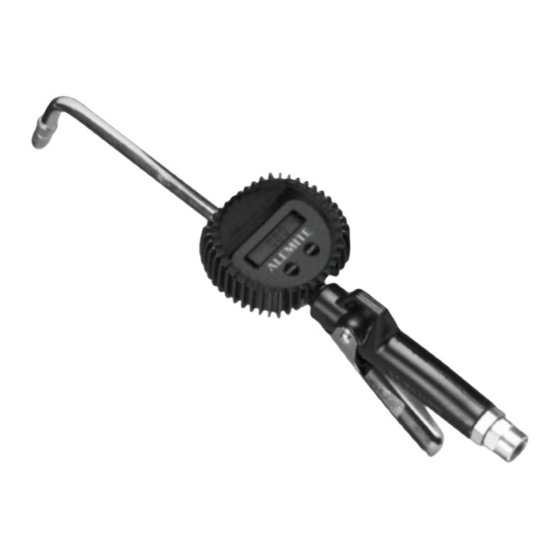
Alemite 3621-B Servis Kılavuzu - Sayfa 6
Kontrol Ünitesi Alemite 3621-B için çevrimiçi göz atın veya pdf Servis Kılavuzu indirin. Alemite 3621-B 11 sayfaları. Electronic-metered control valve

SER 3620
4. Remove V-Block (18) and Spring (20) from the Stem.
5. Unscrew Screw Assembly (24) from the Angle Body.
6. Remove Washer (23) from the Screw Assembly.
7. Remove Gasket (22) from the Angle Body.
Transmission Fluid Filter
NOTE: Refer to Figure 4 for component
identification.
1. Unscrew Spring and Adapter Assembly (29) from
Body (25).
2. Remove O-Ring (28) from the Spring and Adapter
Assembly.
3. Remove Stud (27) from the Body.
4. Remove Filter Tube (26) from the Body.
Item
Part No.
No.
25
Body
26
321191
Tube, Filter
27
Stud
28
X171001-14
O-Ring, 3/4 " ID x 15/16 " OD
29
Spring and Adapter Assembly
Legend:
Part numbers left blank are not available separately
Part number with an X prefix indicates a quantity of ten (10)
Figure 4 Filter Assembly 321203 - Exploded View
Revision (11-05)
1-800-548-1191-http://[email protected]
Description
Qty
1
1
1
1
1
Electronic-Metered Control Valve
Control Valve Handle
NOTE: Refer to Figure 5 for component
identification.
1. Unscrew Swivel Assembly (39) from Body (30).
2. Remove O-Ring (38) from the Swivel Assembly.
3. Remove Strainer (37), Compression Spring (36), and
Spring Support (35) from the Body.
4. Remove Small Compression Spring (34), Seal (33),
and Push Rod (32) from the Body.
5. Remove Screws (41) that secure Lever Assembly (40)
to Cam (43).
• Remove the Lever Assembly from the Cam.
NOTE: The Lever Assembly is serviced as
an assembly.
6. Remove the Cam from the Body.
7. Remove O-Rings (42) from the Cam.
8. Remove Roll Pin (31) from the Body as required.
Electronic Meter Assembly
Refer to section entitled Electronic Meter for
complete details.
Clean and Inspect
NOTE: Use a repair kit for replacement
parts. Make sure all the components are
included in the kit before discarding used
parts.
1. Clean all metal parts in cleaning solvent. The solvent
should be environmentally safe.
2. Inspect all parts for wear and/or damage.
• Replace as necessary.
3. Closely inspect the mating surfaces of all components
for any imperfections. Ensure a smooth and clean
contact is obtained when assembled.
6
Alemite LLC
