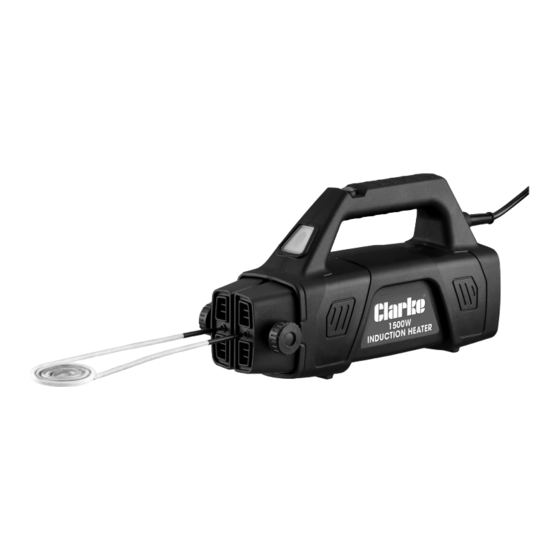
Clarke IT1500 Kullanım ve Bakım Talimatları Kılavuzu - Sayfa 13
Araçlar Clarke IT1500 için çevrimiçi göz atın veya pdf Kullanım ve Bakım Talimatları Kılavuzu indirin. Clarke IT1500 17 sayfaları. Induction heater

seconds, making sure the coil DOES NOT touch the work piece. Once you
can peel off the end of the piece, you will have an area to pull on.
Reapply the flat coil to the piece, working it down the piece while keeping
outward pressure until the piece is completely removed.
TROUBLESHOOTING
1. During the heating process of less than 5 minutes continuous working
(measured baseline is the time from pressing to releasing the heating
switch), the LED light changes from constantly lit up to blinking, indicating
that the heater will stop heating due to entering the protection mode /
duty cycle.
2. If the heater is overheated or overloaded during the heating process, the
heater will automatically stop heating and enter the protection mode. at
this moment, the LED light will starting blinking. Release the heating switch,
the cooling fan will continue to work. Place the heater in a safe place and
wait a few minutes until the LED light is constantly on. The state of the LED
light is controlled and can be followed by the heating switch.
3. If there is a lack of power output, this might be from using an improper or
damaged extension cord. The correct gauge and length of the cord is
7.5m, 14-AWG or 15m, 12-AWG. Use only one extension cord at once.
4. During heating up, smoke may occur at the head of the heating coil due
to high temperature. This is a normal phenomenon.
5. The heating coils are consumables. If the outer skin of the coil falls off in a
large area after use, it is recommended to replace the heating coil by a
new one. DO NOT use external or self-made coils to avoid damage of the
equipment and prevention of accidents.
DISASSEMBLY AND STORAGE
After releasing the heating switch, the fan will continue to work for at least 15
minutes until all components and the working coil are completely cooled down.
1. When the work is completed, release the heating switch to ensure the
continuous operation of the fan.
2. Place the heater on a solid flat surface, well away from any flammable
materials as coil and heater will still be hot.
3. Disconnect the power outlet and press the heating switch to ensure that
the internal fan stops.
13
