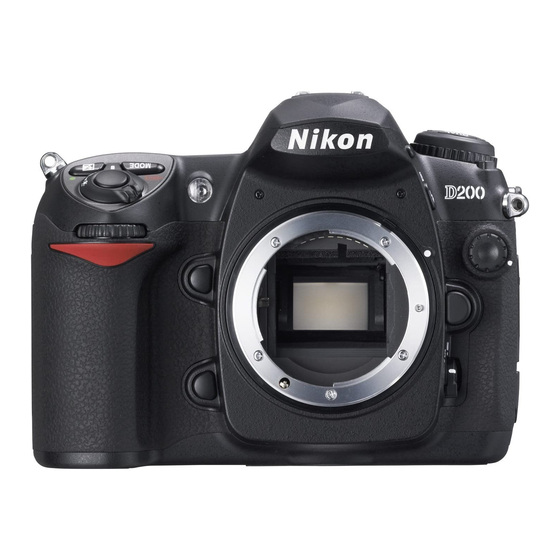
The top panel controls include:
Mode dial. You turn this knurled
wheel to change from single-shot,
continuous shooting, self-timer,
and mirror pre-release modes.
You can find more information
about these modes in Chapter 2.
Mode dial lock. Press this button
to rotate the mode dial, which is
ordinarily locked to prevent acci-
dental changes.
White balance. Hold down this
button and rotate the main com-
mand dial to cycle among the pre-
set white balance settings (which
will be displayed on the LCD status
panel). Press the button and rotate
the sub-command dial to fine-tune
white balance. Turn to the right to
make the image more bluish
(compensating for a yellow or red
bias in the image) or to the left to
add yellow/red (compensating for
excessive blue color casts). You'll
find more about setting white bal-
ance in Chapter 2.
Image Quality/Reset #2. Hold
down this button while rotating the
main command dial to cycle
among image quality settings
(including RAW, JPEG, and the vari-
ous RAW+JPEG options). Press the
button and rotate the sub-command
dial to change the resolution
among Large (3872 × 2592 pixels),
Medium (2896 × 1944 pixels), or
Small (1936 × 1296 pixels) sizes.
(These correspond to 10.2, 5.6, and
2.5 megapixels.) Hold this button
while simultaneously depressing
the Exposure compensation/Reset
#1 button for a few seconds to
reset the camera to its default
values.
Chapter 1
Exploring the Nikon D200
ISO. Hold down this button while
rotating the main command dial to
change the ISO in the range ISO
100 to ISO 1600, plus three boost
settings (H0.3, H0.7, and H1.0),
which take you up to the equiva-
lent of ISO 3200.
Flash accessory shoe. Mount an
external electronic flash unit
(Nikon calls them Speedlights),
such as the Nikon SB-600 or SB-
800, on this slide-in shoe. The mul-
tiple electrical contacts shown in
the photo are used to trigger the
flash and to allow the camera and
flash to communicate exposure,
distance, zoom setting, and other
information. You can also attach
other flash units made by Nikon
and other vendors, but not all
functions may operate.
Monochrome LCD status panel.
This LCD readout provides informa-
tion about the status of your cam-
era and its settings, including
exposure mode, number of pic-
tures remaining, battery status, and
many other settings.
Sensor focal plane. Some special-
ized kinds of close-up photography
require knowing exactly where the
plane of the camera sensor is
located. This marker shows that
point, although it represents the
plane, not the actual location of
the sensor itself, which is placed
aft of the lens.
Metering Mode/Format #1.
Press this button while spinning
the command dial on the back of
the camera to change among
Program, Aperture Priority, Shutter
Priority, and Manual exposure. You
can also use this button to format
the memory card if you hold it
down simultaneously with the
19

