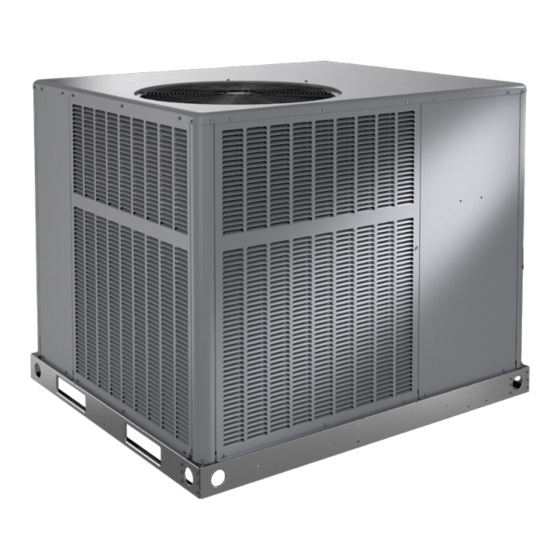
Armstrong Air NP14A Series Kurulum ve Bakım Talimatları Kılavuzu - Sayfa 12
Klima Armstrong Air NP14A Series için çevrimiçi göz atın veya pdf Kurulum ve Bakım Talimatları Kılavuzu indirin. Armstrong Air NP14A Series 20 sayfaları. Residential packaged units

Thermostat
The room thermostat should be located on an inside
wall where it will not be subject to drafts, sun exposure,
or heat from electrical fixtures or appliances. Follow the
manufacturer's instructions enclosed with the thermostat
for general installation procedure. Color-coded insulated
wires (#18 AWG) should be used to connect the thermostat
to the unit. A minimum of five wires are required for proper
installation.
THERMOSTAT
R
C
Y1
O
W
G
*
"O" connection used only on heat pump models
SINGLE PHASE
L2
POWER WIRING
208/230-1-60
(75° MIN. WIRE)
POWER WIRING
24V CONTROL WIRING
(NEC CLASS 2)
W1, W2 can be used to stage electric heat accessory on 10,
15 & 20 kW models. 5 And 7 kW heater accessory function
off W1 only.
Figure 4. Typical Wiring Connections
Duct System
The duct system should be designed and sized according
to the methods in the Air Conditioning Contractors of
America (ACCA) manual that is most appropriate to the
installation application.
A closed return duct system shall be used. This shall not
preclude use of economizers or outdoor fresh air intake. It
is recommended that supply and return duct connections
at the unit be made with flexible joints.
Page 12 of 20
OUTDOOR UNIT
R
Red
C
Blue
Yellow
Y1
O
Orange
W
White
G
Green
L1
GROUND
SCREW
The supply and return air duct systems should be designed
for the CFM and static requirements of the job. They
should not be sized to match the dimensions of the
duct connections on the unit.
The unit is shipped ready for horizontal flow (side duct
connections) or downflow (bottom duct connections). All
units are equipped with a drain pan overflow switch that is
installed and wired at the factory. Duct attachment screws
are intended to go into the duct panel flanges. Duct to unit
connections must be sealed and weather proofed.
For horizontal duct systems:
1. Remove the duct covers on side of the unit. They can
be discarded.
2. Install the duct system to the unit.
*
For downflow duct systems:
1.
Remove the duct covers on side of the unit. Keep the
screws and the covers as they will be re-installed later.
2.
Remove the downflow duct covers located inside unit.
Remove the four screws securing each cover. Remove
the covers from the unit. They can be discarded.
3.
Remove screws located between the supply and
return air openings that attach the blower deck to the
base pan. These screws can interfere with bottom duct
connections or roof curb seals. Discard these screws.
4.
Install the duct system to the unit.
5.
Re-install the duct covers removed in Step 1.
Air filters are not supplied with the unit. A field-provided air
filter must always be installed ahead of the evaporator coil
and must be kept clean or replaced. Dirty filters will reduce
the airflow of the unit.
An optional filter rack kit may be purchased separately
for installation inside the unit's coil compartment. Air filter
sizes are shown in Table 2 for use with filter rack kit.
The filter rack must be installed prior to installation of
the unit in applications where access to the rear panel
is limited.
Unit Model
24,30,36
42,48,60
Table 2. Unit Air Filter Sizes - inches
Issue 2211
Filters
NOTE:
Filter 1
Filter 2
14 x 20 x 1
20 x 20 x 1
20 x 20 x 1
507296G03 / 31-5000670
