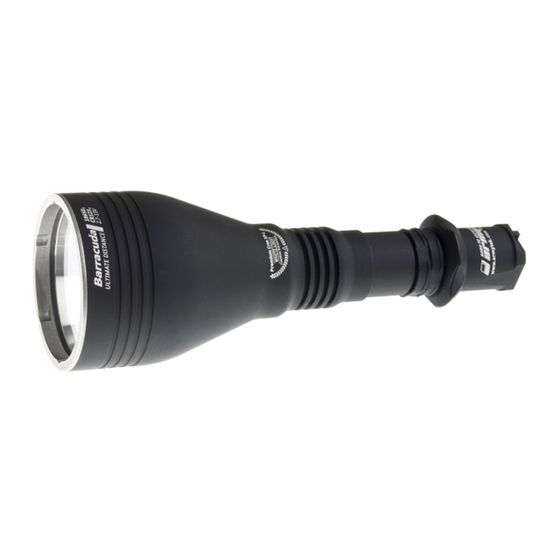
Armytek Barracuda XP-L Kullanıcı Kılavuzu - Sayfa 2
El feneri Armytek Barracuda XP-L için çevrimiçi göz atın veya pdf Kullanıcı Kılavuzu indirin. Armytek Barracuda XP-L 2 sayfaları.

Set description
1
4
3
x2
2
Barracuda
Items included in the package:
1 - Flashlight
5 - Lanyard
2 - 2 spare O-rings
6 - User manual
3 - Spare rubber button
4 - Holster
Your flashlight can inconsiderably differ from the pictures in the manual.
ь
The producer reserves the right to change the package at his own discretion without modifying this manual.
ь
Initial Service
1.
2.
To set/replace batteries:
1. Unscrew the tailcap.
2. Place the batteries with the positive contact (+) facing the head of the flashlight.
3. Adjust the tailcap and tighten it as far as it can go.
We DO NOT RECOMMEND to leave power sources inside the flashlight for a long storage period, as batteries (especially, non-rechargeable)
can leak for various reasons and damage the inner parts of the flashlight. If you want to keep your flashlight in a stand-by state with batteries
in then use new and high-quality batteries and store the flashlight in acceptable for batteries operational temperature and revise the batteries'
state at least once a month. If you have noticed any signs of batteries' defects then withdraw them from the flashlight and utilize. It is also
recommended to replace discharged batteries with new ones before the storage as the chance of leakage is higher with discharged batteries.
5
6
3.
The flashlight has two operational variants:
Turbo – permanently switched light at Turbo mode (activated by click with the head of the flashlight tightened up). It's an easy and
comfortable operational mode for hunters, especially when the flashlight is used with a remote switch.
Additional – permanently switched light at one of the Additional modes at user's choice (activated by click with the head of the flashlight
unscrewed to 1/8). Additional modes: Firefly, Main1, Main2, Main3, Strobe (hidden).
Momentary on
Half Press & Hold (no click)
Release
1/2
ǁ
ON
OFF
Turbo
Tighten up
Click x1
Additional
Unscrew to 1/8
Click x1
Cycling through Additional modes
Half Press & Release (no click)
Firefly
1/2
*
Strobe
Main1
Main3
Main2
* If enabled
Adding Strobe to Additional modes
Unscrew & Tighten up x10
x10
Automemorizing. After switching off the last used Mode is memorized for quick 1-click access at next switching on.
Lock-out function. Unscrew the tailcap to 1/4 for the protection from accidental switching on.
Low Battery Indication.
If the brightness is <25% from the nominal value, the LED flashes 2 times ONCE (after 30sec from switching
on). If you are not sure if it flashed or not switch the flashlight off and on: in case the battery is low flashes will repeat. Light output
decreases to Firefly mode at critical level.
Operation
Momentary on.
Any mode switched on by half-pressing of the button and
active till the button is released. In Turbo mode is suitable for
giving signals by short button pressings. In Additional mode
quick half-pressings can be used to switch modes.
Turbo.
Tighten the head of the flashlight if it is unscrewed. First full
click of the button turns the light on. Second full click turns it
off.
Additional modes (Firefly + 3 Main + Strobe (if enabled)).
If the head of the flashlight is tightened up, unscrew it for 1/8
of a circle. Full click of the button turns the light on at the last
used Additional mode.
Cycling through Additional modes.
To switch the mode turn the flashlight off and on (by full click
or half-pressing). The modes switch cyclically: Firefly - Main1
- Main2 - Main3 - Strobe (if enabled).
Adding Strobe to Additional modes.
Strobe is a hidden mode which you can add or remove from
the additional modes at your choice. To enable (remove)
Strobe: unscrew and tighten up the head of the flashlight at
least 10 times (while rotation you will change the modes). The
pause should be <1 sec.
