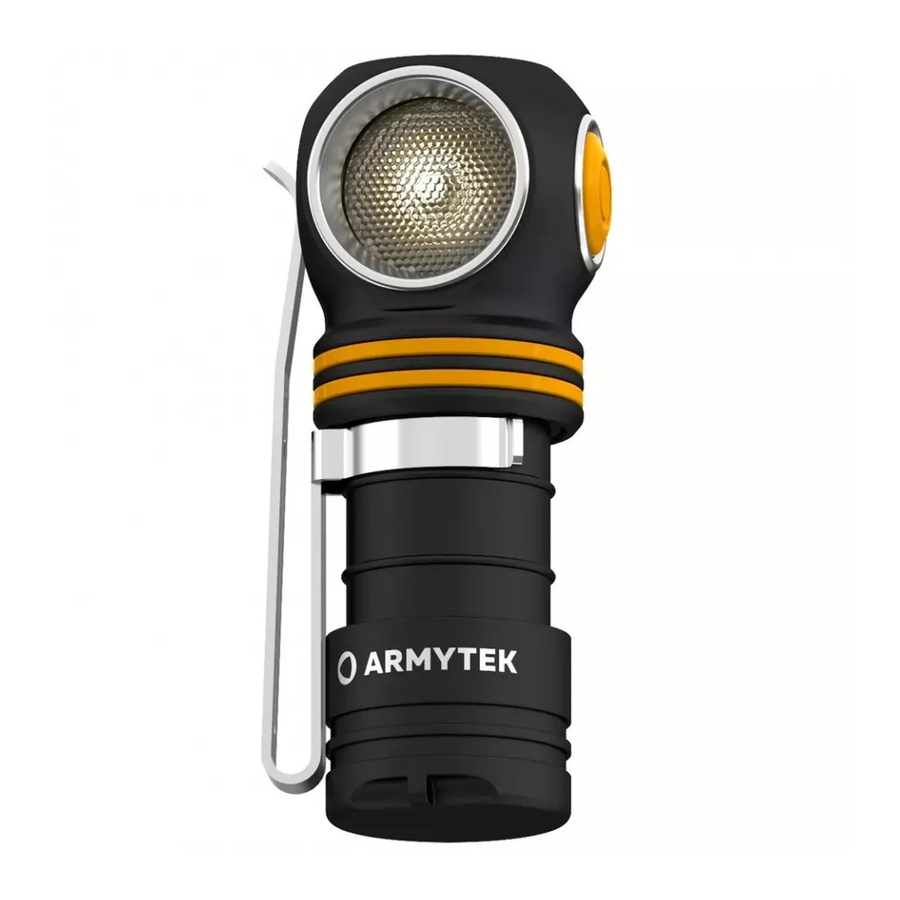
Armytek Elf C1 Micro-USB Kullanıcı Kılavuzu - Sayfa 2
El feneri Armytek Elf C1 Micro-USB için çevrimiçi göz atın veya pdf Kullanıcı Kılavuzu indirin. Armytek Elf C1 Micro-USB 2 sayfaları. Multi flashlight
Ayrıca Armytek Elf C1 Micro-USB için: Kullanıcı Kılavuzu (4 sayfalar)

Set description
2
3
4
5
x2
6
1
7
8
9
Elf Micro-USB
Your flashlight can inconsiderably differ from the pictures in the manual.
ь
The producer reserves the right to change the package at his own discretion without modifying this manual.
ь
Initial Service
1.
2.
3.
We DO NOT RECOMMEND to leave power sources inside the flashlight for a long storage period, as batteries (especially, non-rechargeable) can
leak for various reasons and damage the inner parts of the flashlight. If you want to keep your flashlight in a stand-by state with batteries in then
use new and high-quality batteries and store the flashlight in acceptable for batteries operational temperature and revise the batteries' state at
least once a month. If you have noticed any signs of batteries' defects then withdraw them from the flashlight and utilize. It is also recommended
to replace discharged batteries with new ones before the storage as the chance of leakage is higher with discharged batteries.
To use the headmount with the flashlight:
1.
Pass the end of the band B through the clasp.
3.
(for Elf C2 Micro-USB)
a B
4.
2.
Pass the band A through the eye of the band B.
(for Elf C2 Micro-USB)
B
5.
A
Items included in the package:
1 - Flashlight
8 - Headband (2 straps
for Elf C2 Micro-USB)
2 - Clip
9 - Plastic holder
3 - User manual
4 - 2 spare O-rings
5 - 18650 Li-Ion battery (Elf C2 Micro-USB)
18350 Li-Ion battery (Elf C1 Micro-USB)
6 - Magnet
7 - Lanyard
To set/replace batteries:
1. Unscrew the tailcap.
2. Place the batteries with the positive contact (+) facing
the head of the flashlight.
3. Adjust the tailcap and tighten it as far as it can go.
The flashlight is ready for operation.
Put in the band A in the first clasp.
A
Pass the end of the band A through the second clasp and fix it.
A
Put in the bands through the
slots in the plastic holder
and fix the flashlight. Adjust
elastic bands to the size of
your head.
Operation
Main
Click x1
OFF вMain (if last used)
Firefly
Press & Hold
OFF вFirefly1 вFirefly2
Turbo
Click x2
ON в Turbo
Turbo в Last mode
Cycling through Modes
Press & Hold
Main1 вMain2
е
з
Main3
Low Battery Indication
Warning
Critical
2 sec
1 sec
< 25%
< 10%
High Temperature Indication
Warning
Critical
2 sec
1 sec
WARM
HOT
Flashlight charging.
Turn off the flashlight and connect the cable. The color of the button displays
Flashlight charging
the charging stage: red – the flashlight is charging, green – the flashlight is charged. If there is no
OFF
indication, the battery is removed or installed in the wrong polarity. Approximate time for charging
a fully discharged battery is 6-8 hours. We recommend using adapters with 1A and higher.
Lamp mode.
The flashlight can work in lamp mode without battery, in Firefly1, Firefly2, Main1 and
Main2 modes. To do this, connect the cable and remove the battery. In this mode, the selection of
brightness modes is carried out by holding the button. Turn on and off – click. There is no color
indication in the lamp mode.
In OFF state:
Click: To turn on the last used mode.
Press and hold: To go through 2 Firefly modes (release to
select). Keeping button pressed will start cycling through the
Main modes.
In ON state:
Click: To turn off the flashlight.
Press and hold: To start cycling through the Main modes.
Double click: To turn on the Turbo mode. The second
double click brings back the last used mode.
For comfortable operation you have a convenient
momentary access to all the following modes:
Main. Short click from OFF-state activates the Main mode (if it
was the last mode used previously).
Firefly. Press and hold the button in OFF-state to turn on the
desired Firefly mode and then release immediately. Keeping
the button pressed will start cycling through the Main modes.
Turbo. The mode is activated by double click, when the
flashlight is on. To return to the last mode make double-click
again.
Cycling through the Main modes. In ON-state press and hold
the button (in any mode): the 3 Main modes will start
switching cyclically. Release the button to select the desired
mode.
In Turbo mode it starts cycling through the Main
modes.
Automemorizing. After switching off the last used Mode is
memorized for quick 1-click access at next switching on.
Lock-out function. Unscrew the tailcap to 1/4 for the
protection from accidental switching on.
Warning indication shows the battery level and the
temperature inside the flashlight.
Low battery level. When it is < 25%, the color LED will show
the warning level – flashing in orange color once in 2 second.
With a further voltage reducing brightness will start to
decrease in steps for safety of the battery and user. If
brightness will be <25% from nominal value, the main LED
will flash 2 times. Critical battery level <10% is red indicated
once a second.
High temperature. When it increases to the warning level – the
color LED flashes by orange 3 times once in 2 seconds. At
critical level – it flashes by red 3 times once in 1 second,
brightness starts to reduce. After cooling down the brightness
increases to usual level.
