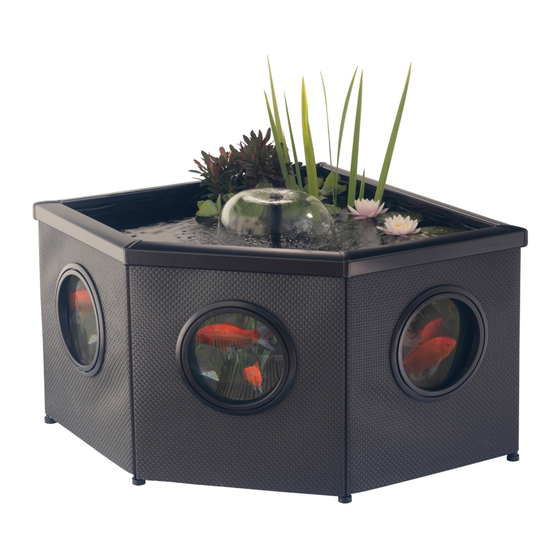
Blagdon Affinity mocha corner Talimatlar - Sayfa 2
Yüzme Havuzu Blagdon Affinity mocha corner için çevrimiçi göz atın veya pdf Talimatlar indirin. Blagdon Affinity mocha corner 4 sayfaları.

Mocha Corner Assembly Instructions
Getting to know your Affinity living feature pool
Part 22
Part 21
Part 20
Part 3
Part 19
Part 18
Part 17
Part 16
Part 14
Part 15
Part 13
Part 1
Part 4
Step by Step Guide
Step 1
Clear chosen area of debris and any sharp
objects which could puncture the liner.
Step 2
Place down the supplied underlay and layout
the all parts – check the quantities against the
parts table.
Step 3
Connect the two A rails to a 90
trident
o
connector.
1
Line up and push fit together
2
Part 3
Part 2
Step 4
Insert a 90
leg and lock in place with the
o
supplied keys - ensure the end with the sticker is
pointing up on every leg.
1
2 2
White sticker end of leg
3
Part List
Part Description
Tool
Plastic keys
Part 5
Plant Basket Fixing Pins
Plastic Feet
90
o
Trident Connector
Part 6
A Top Rail (90
A Mocha Weave Panel
90
Leg
o
Part 7
B Top Rail (90
B Mocha Weave Window
Panel
Part 8
C Top Rail (135
C Mocha Weave Window Panel 1
Leg
135
o
B Leg Cross Brace Bar
135
Trident Connector
o
Part 4
Underlay
Part 9
Liner Bag
Part 23
A Leg Cross Brace Bar
Plant Basket
Waterfall Clip
Part 10
Waterfall Bracket
Waterfall (available separately)
Part 11
Strengthening Wire
Part 12
Also Availiable
Product Code
1054928
1052245
1051217
1052214
4
Step 5
Connect a 90
trident to one of the A rails and
o
attach a B rail – insert a 90
o
leg and lock into
place with the keys.
Step 6
Connect a 135
o
trident to this B rail, attach the
C rail – insert a 135
leg and lock into place
o
with the keys.
1
Quantity
Part No.
1
1
20
2
16
3
5
4
3
5
-90
)
2
6
o
o
2
7
3
8
-135
)
2
9
o
o
2
10
o
-135
o
)
1
11
12
2
13
3
14
2
15
1
16
1
17
2
18
1
19
2
20
1
21
1
22
1
23
Product Name
Inpond 3000 Annual Maintenance Kit
Affinity Planting Basket
Affinity Split Rill Waterfall
Affinity Wave Rill WaterFall
2
Step 7
Connect the last 135
trident to the C rail,
o
connect the last 90
o
trident to the last B rail.
Step 8
Insert the B rail into the remaining gap –
connecting the 90
o
trident to the A rail. Insert
the 90
o
and 135
o
legs into the appropriate
positions and lock into place with the keys.
