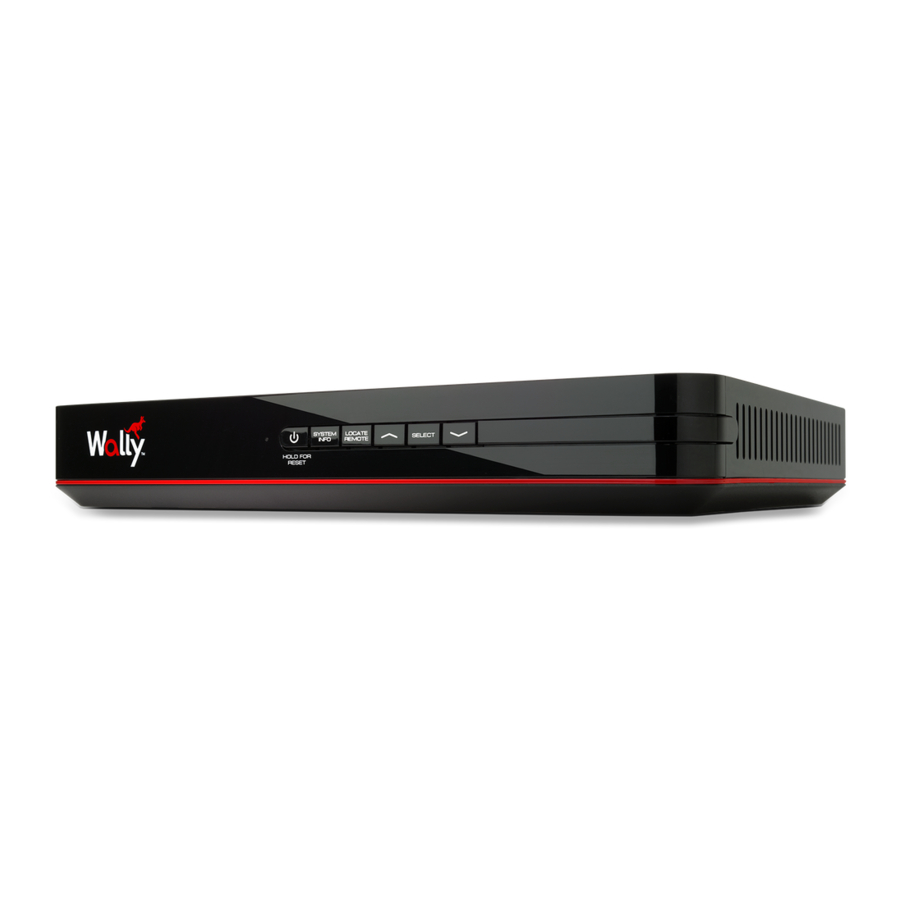
Dish Network WALLY Kurulum Kılavuzu - Sayfa 2
TV Alıcısı Dish Network WALLY için çevrimiçi göz atın veya pdf Kurulum Kılavuzu indirin. Dish Network WALLY 17 sayfaları. Single-tuner hd satellite receiver
Ayrıca Dish Network WALLY için: Kullanıcı Kılavuzu (16 sayfalar), Kurulum (20 sayfalar), Kullanıcı Kılavuzu (2 sayfalar)

- 1. Labeling Your Cables
- 2. Disconnecting Your Cables
- 3. Connecting the Cables to Your Replacement Receiver
- 4. Powering Your Equipment
- 5. Acquiring a Satellite Signal
- 6. Downloading Your Wally Software
- 7. Pairing Your Remote Control and Setting Your Wally Location
- 8. Setting Your TV Configuration
- 9. Testing Your Hopper Connectivity to the Internet
- 10. Activating Your Wally
- 11. Returning Your Original Receiver
1. Labeling Your Cables
Use the labels provided to complete this step. Do not remove any cables from the receiver being
replaced until Step 2.
a. Attach the blue label to the cable
connected to the "Satellite In"
port.
b. Attach the black label to the cable
connected to the"HDMI" port or
attach the orange label to the
cables connected to the RCA ports.
You will be using either an
HDMI cable or RCA cables as
your audio/video connection.
RCA
RCA
COMPOSITE
COMPOSITE
