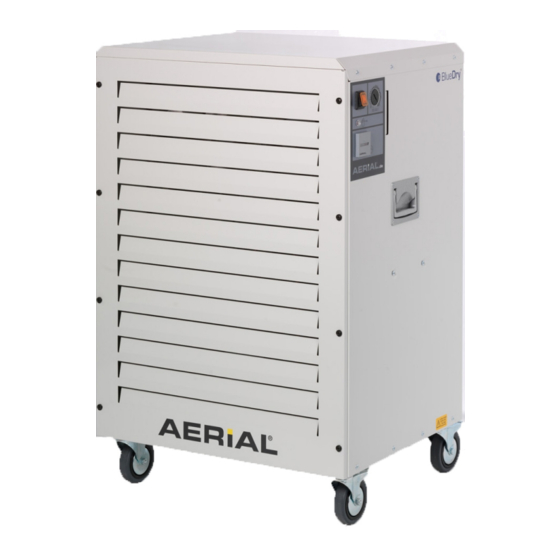
Aerial AD 810 Kullanım Kılavuzu - Sayfa 6
Nem Alıcı Aerial AD 810 için çevrimiçi göz atın veya pdf Kullanım Kılavuzu indirin. Aerial AD 810 14 sayfaları.

6. Operation
6.1 electrical connection
Before connecting the air dryer, the following items must be checked:
Ø Does the mains voltage coincide with the voltage of the appliance?
Ø Adequate fusing of socket and supply system?
Ø Has a residual-current-operated circuitbreaker (r.c.c.b) been installed?
Ø If a cable drum is used: has it been unwound completely?
Ø Is the appliance connector suitable for the building socket?
Ø Is the socket provided with an earth connection?
ATTENTION:
Before putting the air dryer into operation, the technical data of the appliance
should be compared to the conditions prevailing in the room of installation!
6.2 Putting into operation
ATTENTION:
Before putting the air dryer into operation, the instruction manual should be studied
carefully. Thus, damages by a false or inappropriate operation as well as by
inadequate environmental conditions can be avoided.
For using the air dryer, please proceed as follows:
Ø After having been transported, the air dryer should rest for about 15 min. During
this period of time, the oil inside the refrigerating system, that was foamed
during transport will return into the compressor. We recommend this procedure
since it extends the service life of the compressor.
Ø Put the plug of the device into a suitable socket.
Ø Connect a hose to the hose connector at the back of the device and guide this
hose into a sump. Fix the hose and make sure that the condensate is guided
away safely. (Pt. 6.5)
Ø Switch on the unit by actuating the ON-OFF-switch.
Ø Set the required humidity value at the hygrostat (please refer in this respect to
'Hygrostat Control' - 6.4).
Ø If the existing humidity is higher than the set value, the air dryer will start to
operate.
If the existing humidity is lower than the set value, the air dryer will not start to
operate.
page 6 of 14
