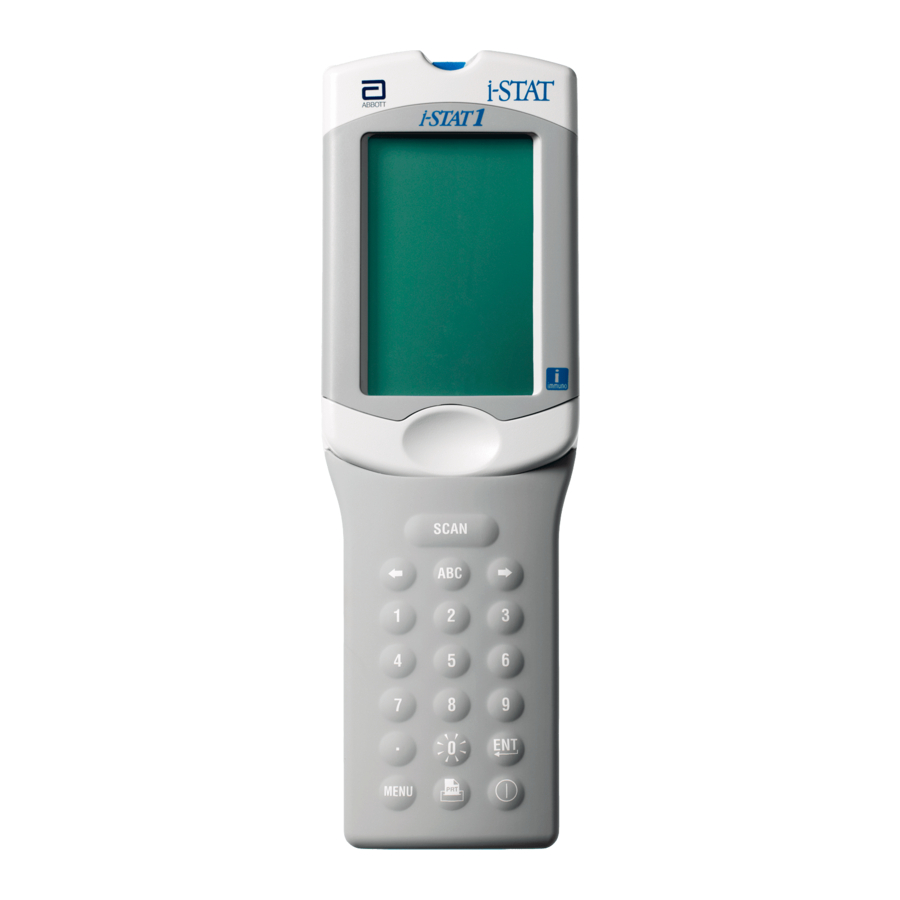
Abbott i-STAT Kullanıcı Kılavuzu - Sayfa 6
Ölçüm Cihazları Abbott i-STAT için çevrimiçi göz atın veya pdf Kullanıcı Kılavuzu indirin. Abbott i-STAT 11 sayfaları. Wireless analyzer
Ayrıca Abbott i-STAT için: Teknik Bülten (12 sayfalar)

Reviewing Test Results
n
The 0 key can be used to backlight the display to view
results in dim lighting. (The backlight turns off after 90
seconds or when the 0 key is pressed again.)
n
Test results are displayed numerically and with bar
graphs. Tick marks indicate the reference ranges on
the bar graphs. (Blood gases and their associated
calculated values are not displayed with bar graphs
and reference ranges.)
n
Test results are displayed for 2 minutes or a
customized time. To recall the last set of results to the
screen, turn the analyzer on and press 1 for Last
Result.
n
To review results from the same patient, when results
are displayed, press 1 for Test Options and then 3 for
History. Scroll through test records using the 1 and 2
keys.
n
To review another patient's results, turn the analyzer
on and press the Menu key followed by the 2 key for
Data Review and the 1 key for patient. Scan or enter
the Patient's ID number. Use the 1 and 2 keys to
scroll through the test records. Or, press the Menu
key followed by the 7 key for List. Select the test
record(s) to be reviewed and press the Enter key.
Reportable and Reference Ranges
Measured:
Test
Units
Sodium/Na
mmol/L (mEq/L)
Potassium/K
mmol/L (mEq/L)
Chloride/Cl
mmol/L (mEq/L)
Glucose/Glu
mmol/L
mg/dL
g/L
Lactate/Lac
mmol/L
mg/dL
Creatinine/Crea
mg/dL
µmol/L
6
Reportable
Reference Range
Range
(arterial)
100 – 180
138 – 146
2.0 – 9.0
3.5 – 4.9
65 – 140
98 – 109
1.1 – 38.9
3.9 – 5.8
20 – 700
70 – 105
0.20 – 7.00
0.70 – 1.05
0.30 – 20.00
0.36 – 1.25
2.7 – 180.2
3.2 – 11.3
0.2 – 20.0
0.6 – 1.3
18 – 1768
53 – 115
Replacing Batteries
1.
Slide the battery compartment door off.
2.
Tilt the handheld slightly to slide out the battery
carrier.
3.
Remove the old batteries from the carrier and replace
with 2 new 9V lithium batteries.
(Ultralife Battery Part No. U9VL-J-P)
4.
Insert the carrier back into the compartment – label
facing up and electrical contacts first.
5.
Slide the battery compartment door into place.
Charging the Rechargeable Battery
Placing a handheld in a Downloader/Recharger will automatically initiate recharging of
the rechargeable battery. The indicator light on top of the Downloader/Recharger will be
green (trickle charge), red (fast charge), or blinking red (fast charge pending) when a
handheld with a rechargeable battery is placed in the Downloader/Recharger.
No damage will be caused if a handheld with disposable batteries installed is placed in
the Downloader/Recharger.
Charging Rechargeable Battery in External Recharge Compartment
Placing a rechargeable battery into the recharging compartment will automatically initiate
trickle recharging. The indicator light near the recharging compartment will be green when a
rechargeable battery is placed in the compartment.
STEP / ACTION
1.
The battery pack has two labels: one for orientation in the handheld and one for
orientation in the Downloader/Recharger. With the label with the Downloader facing
(venous)
up and the electrical contact end of the pack facing the contacts in the battery
compartment, insert the pack into the compartment as shown on the label.
138 – 146
2.
To remove the battery after it is charged, back the pack out of the compartment.
3.5 – 4.9
Full recharge from a discharged state takes approximately 40 hours.
98 – 109
Caution
3.9 – 5.8
If you are using rechargeable batteries, use only rechargeable batteries and recharging
70 – 105
equipment supplied by your i-STAT distributor. Other batteries and rechargers may affect test
0.70 – 1.05
results and pose other hazards to operators and patients.
0.90 – 1.70
8.1 – 15.3
0.6 – 1.3
53 – 115
Hardware Procedures
15
